Drywall Repair and Interior Painting in Hampstead, NC
Walls take more everyday wear than many homeowners realize. Small dents appear when furniture moves. Nail holes remain after artwork comes down. Drywall seams can become visible, and moisture may leave stains or damage behind.
Fresh paint can improve the appearance of a room, but paint alone cannot correct damaged drywall. The surface underneath needs to be properly repaired and prepared first.
For homeowners in Hampstead, NC, combining drywall repair with careful interior painting can restore walls and create a cleaner, more finished result.
Here are common types of drywall damage, what may cause them, and why preparation matters before repainting.
1. Small Nail and Screw Holes
Nail holes are among the most common wall imperfections.
They often remain after pictures, shelves, decorations, or other items are removed.
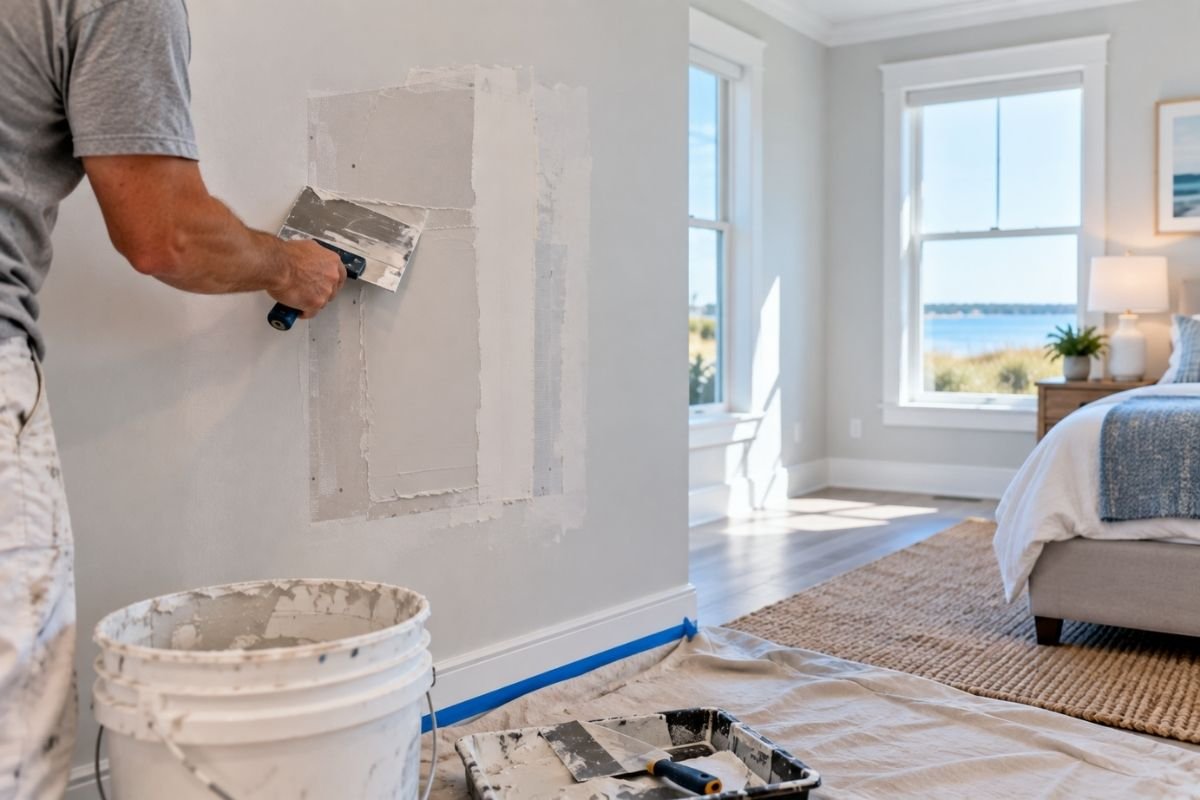
Small holes may be straightforward to repair. However, filling them is only the first step.
The repaired area also needs to be smoothed and prepared so it does not remain obvious after painting.
2. Larger Holes Need More Than Filler
Furniture, door handles, accidents, and renovation work can create larger holes in drywall.
These areas may require a patch rather than a simple surface fill.
The repair should restore a solid wall surface and blend into the surrounding area.
Proper finishing becomes especially important when the wall receives direct natural light.
3. Dents From Everyday Activity
Not every damaged wall has an actual hole.
Furniture, toys, moving boxes, and household equipment can leave dents in the drywall surface.
A shallow dent may look minor until fresh paint highlights the uneven area.
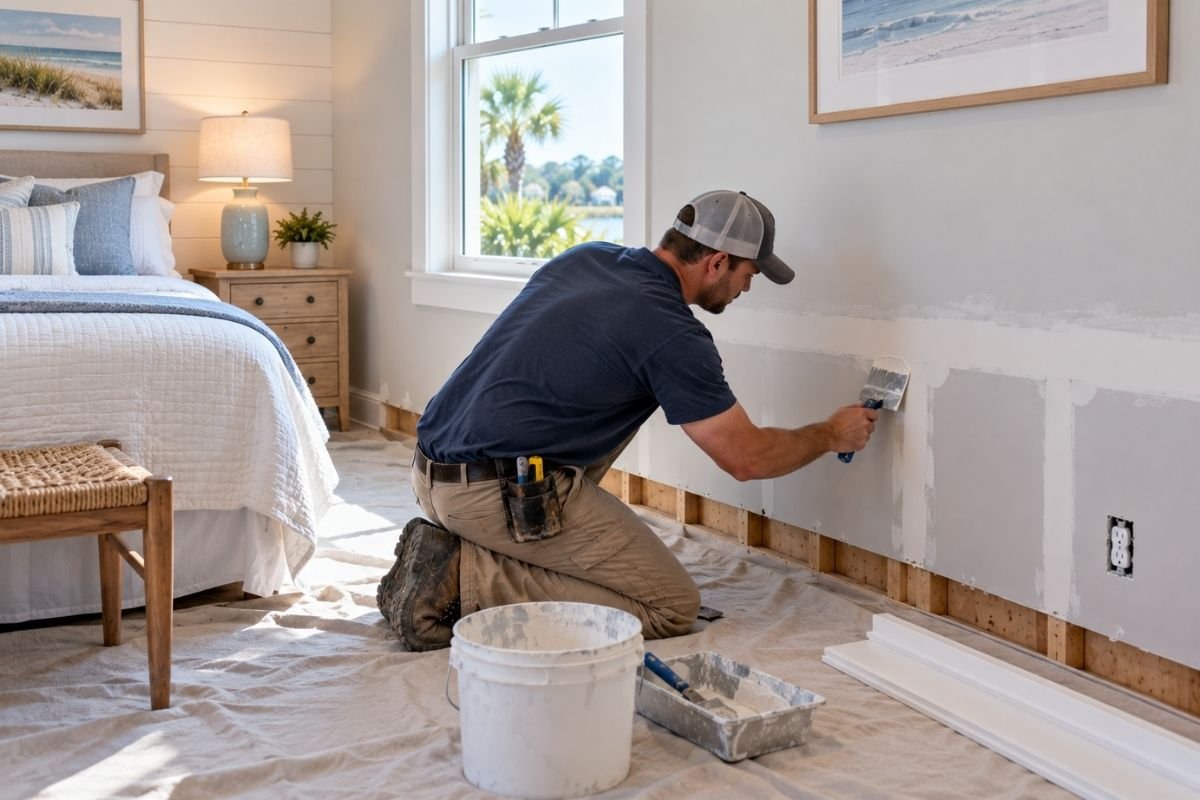
Repair and smooth these imperfections before repainting.
4. Damage Around Door Handles
A door that opens too far can repeatedly strike the wall.
Over time, the handle may dent or break the drywall.
Repairing the wall solves the visible damage, but consider the cause as well.
A suitable doorstop can help prevent the same problem from happening again.
5. Drywall Cracks Deserve a Closer Look
Cracks can develop for several reasons.
Some may involve normal movement or changes around drywall joints. Others may require closer evaluation.
Do not automatically cover a recurring crack with paint.
If a crack repeatedly returns, grows, or appears alongside other changes, determine the cause before completing another cosmetic repair.
6. Drywall Seam Problems
Drywall panels are joined and finished to create the appearance of one continuous surface.
Over time, a seam may become visible or the finishing material may develop a problem.
Simply adding a thick coat of paint will not hide an uneven joint.
The surface should be repaired and smoothed first.
7. Loose or Damaged Drywall Tape
Drywall tape can sometimes become visible at seams or corners.
Painting over loose tape rarely creates a lasting improvement.
The damaged area needs appropriate repair before the finish coat is applied.
Proper preparation helps the repaired section blend with the rest of the wall.
8. Nail Pops Can Affect Finished Walls
A small raised circle on the wall may indicate a fastener pushing against the finished surface.
This is commonly called a nail pop.
Covering the raised area with paint will not flatten it.
The area needs to be corrected, finished, and prepared before repainting.
9. Damaged Outside Corners
Outside wall corners are vulnerable to impact.
Furniture, vacuum cleaners, moving boxes, and other objects can chip or dent them.
Corner damage can be particularly noticeable because it changes the straight edge of the wall.
Careful repair helps restore a clean line before painting.
10. Scuffs Are Not Always Drywall Damage
Some wall marks only affect the painted surface.
Before planning a drywall repair, determine whether the wall itself is damaged.
A surface scuff may require cleaning or a paint touch-up rather than patching.
Matching the repair to the actual problem avoids unnecessary work.
11. Peeling Paint Can Signal Another Problem
Peeling paint is not always caused by the paint itself.
Moisture, poor surface preparation, or other conditions may contribute to the problem.
Do not simply cover loose paint with another coat.
Identify the cause, remove unstable material, and prepare the surface correctly.
12. Bubbling Paint Should Be Investigated
Paint that bubbles or blisters can indicate a problem beneath the surface.
Moisture is one possible cause.
If the area feels damp or the problem continues to return, investigate before repainting.
A cosmetic repair should come after the underlying issue has been corrected.
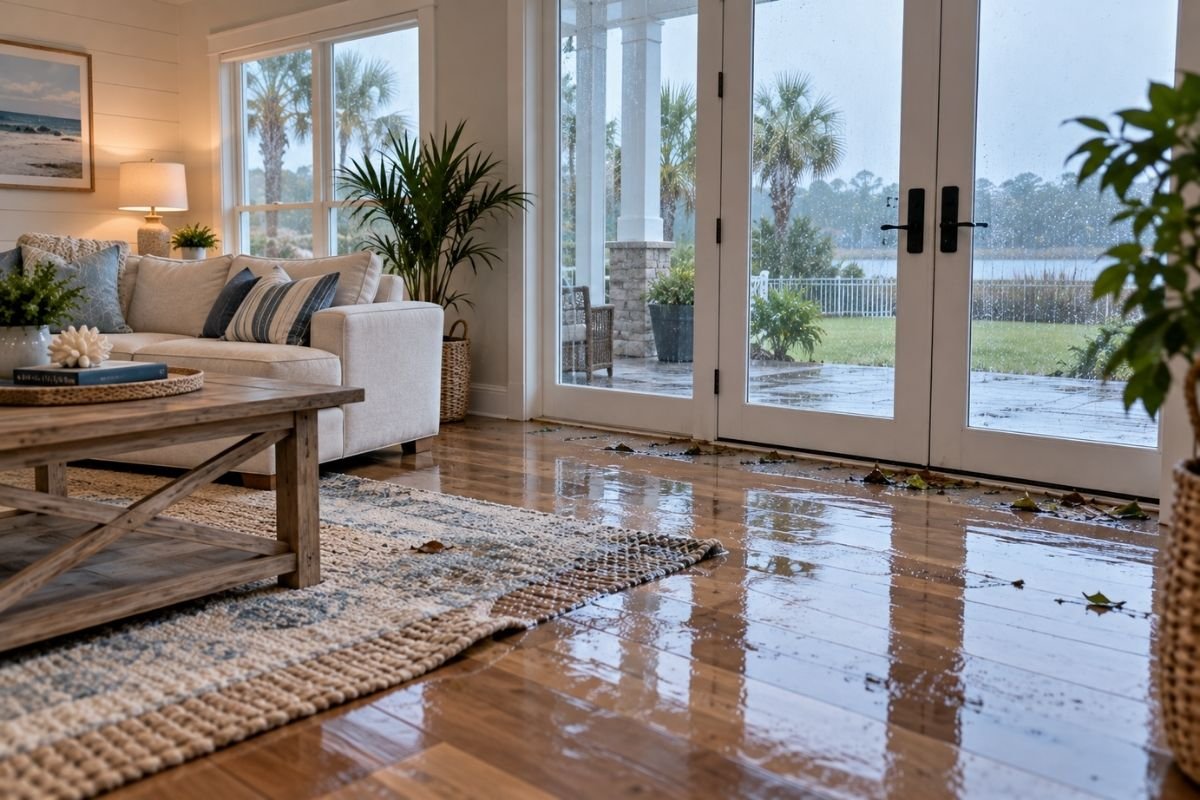
13. Water Stains Need More Than Fresh Paint
A brown or yellow stain can make a wall or ceiling look damaged even when the surface remains intact.
However, covering the stain should not be the first step.
Find out where the moisture came from.
The leak or water source needs to be corrected before the damaged finish is restored.
14. Soft Drywall Can Indicate Moisture Damage
Drywall should feel firm.
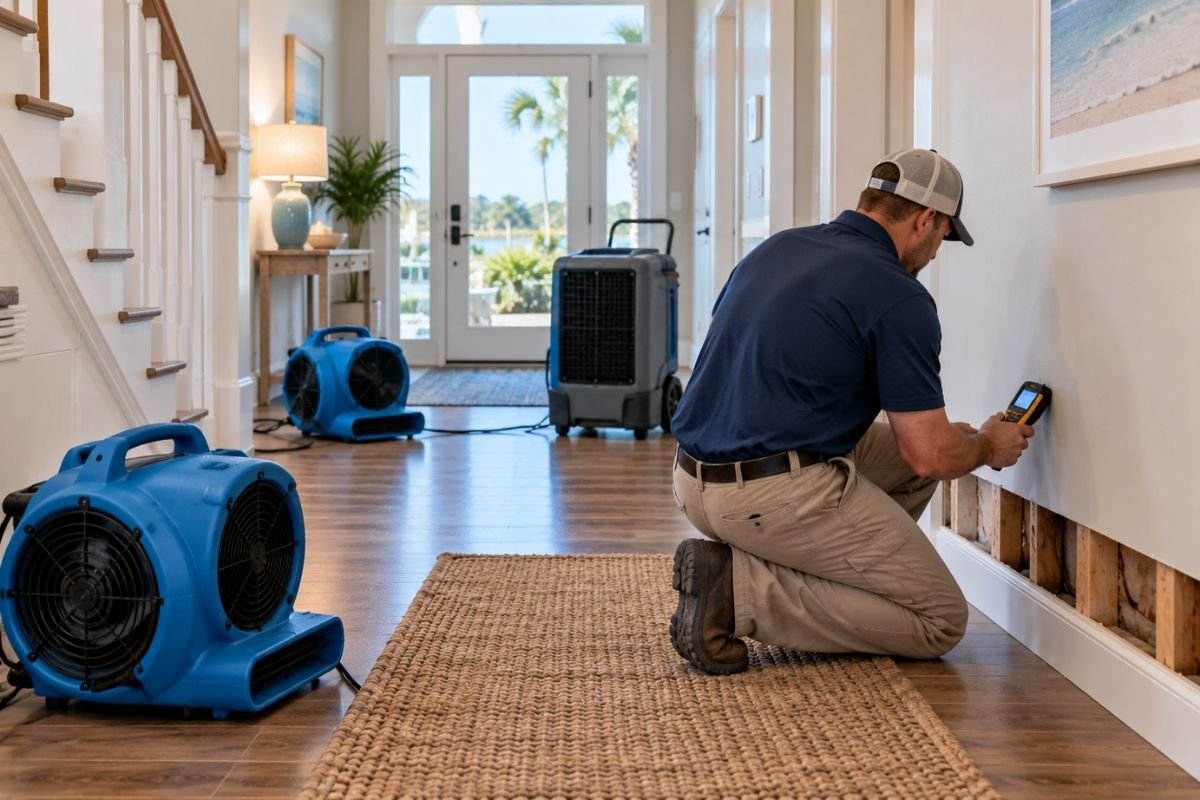
A section that has become soft, swollen, or crumbly may have been exposed to water.
Damaged material may need more than surface patching.
The extent of the moisture problem should be determined before repairs begin.
15. Check Around Windows for Wall Damage
Windows can reveal problems in nearby finished surfaces.
Look for staining, peeling paint, softness, or cracks around the trim and surrounding wall.
These signs do not automatically identify the source.
They do indicate that the area deserves closer inspection before cosmetic work begins.
16. Inspect Walls Near Plumbing Fixtures
Bathrooms, kitchens, and laundry areas contain water supply and drainage connections.
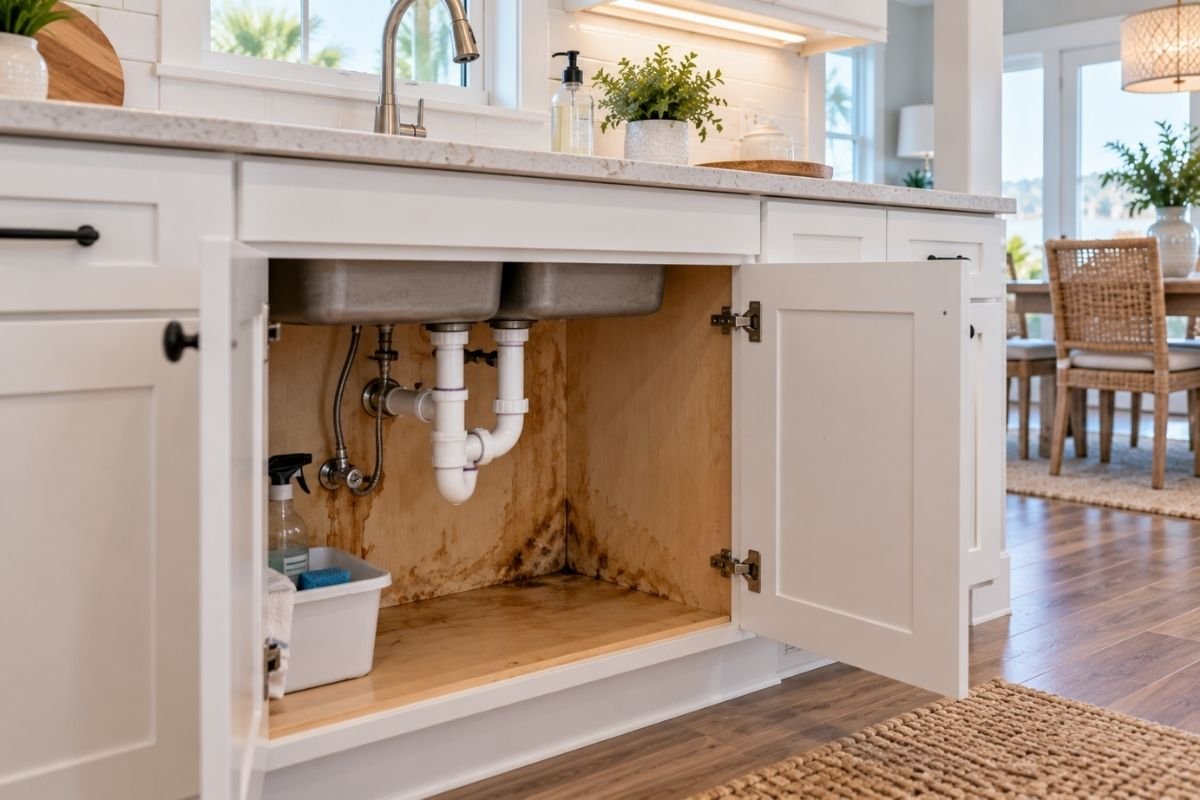
A plumbing leak can sometimes show up as drywall staining or deterioration nearby.
If moisture is involved, correct the water source before repairing the wall.
Painting over damp drywall will not solve the problem.
17. Ceiling Stains Should Not Be Ignored
Ceilings can reveal leaks from plumbing, roofing, or other sources.
A new stain deserves attention even if no water is actively dripping.
Determine why the stain appeared before repairing the ceiling.
This helps reduce the chance of completing the same cosmetic repair twice.
18. Ceiling Drywall Repair Requires Care
Ceiling repairs can be more noticeable than wall repairs because light often travels across the surface.
An uneven patch may cast a shadow or create a visible change in texture.
Repair, sanding, and finishing need to blend carefully with the surrounding ceiling.
Painting should begin only after the surface is properly prepared.
19. Texture Matching Matters
Some walls and ceilings have a noticeable texture.
A perfectly smooth patch can stand out when everything around it has texture.
The repaired area should match the surrounding finish as closely as practical.
This step can make a major difference in the final appearance.
20. Sanding Helps Create a Smooth Transition
Drywall compound often needs sanding after it dries.
The goal is not simply to make the patch flat.
The edges should transition smoothly into the existing wall.
Good surface preparation helps prevent a visible outline after painting.
21. Remove Dust Before Painting
Drywall repair can create fine dust.
Painting over a dusty surface can affect the quality of the finish.
Clean the repaired area appropriately before primer or paint is applied.
Protect nearby furniture and surfaces during sanding and preparation.
22. Primer Can Be Important After Drywall Repair
New drywall compound and an existing painted wall can absorb paint differently.
Primer helps prepare repaired areas for the finish coat.
It may also be important when dealing with certain stains or significant color changes.
Choose products appropriate for the surface and project.
23. Paint Sheen Can Reveal Wall Imperfections
Paint finish affects how much light reflects from a wall.
Higher-sheen finishes can make some surface imperfections more noticeable.
Consider both appearance and practical needs when selecting paint.
The quality of the wall preparation remains important regardless of sheen.
24. Color Matching Can Be Harder Than Expected
Touching up one repaired spot sounds simple.
However, existing paint may have changed slightly with age, sunlight, cleaning, or normal wear.
Even the original paint color may not blend perfectly after several years.
In some cases, repainting the entire wall creates a more consistent result.
25. Natural Light Can Reveal Poor Repairs
Hampstead homes often feature large windows and bright interiors.
Strong daylight can travel across a wall and reveal ridges, uneven patches, and sanding marks.
Inspect repaired surfaces from different angles before painting.
Correcting imperfections at this stage is easier than after the finish coat dries.
26. Coastal Humidity Can Affect Painting Projects
Temperature and humidity can influence how coatings dry and cure.
Follow the paint manufacturer’s instructions for application conditions and drying time.
Avoid rushing additional coats simply because the surface appears dry.
Proper drying time supports a better finished result.
27. Repair Walls Before a Full Interior Repaint
A full repaint provides a good opportunity to correct accumulated wall damage.
Walk through each room before painting begins.
Mark dents, holes, cracks, loose tape, and other imperfections that need attention.
Completing repairs first creates a better foundation for the new color.
28. Complete Plumbing and Electrical Work First
Other home repairs may require openings in drywall.
It makes little sense to finish and paint a wall before necessary plumbing or electrical work is complete.
Plan the order of the project carefully.
For example, homeowners dealing with household repairs can review information about plumbing repair in Hampstead, NC before restoring affected wall finishes.
29. Moisture Problems Need to Be Solved Before Cosmetic Repairs
Drywall repair is only part of the solution when water caused the damage.
A roof leak, plumbing leak, exterior opening, or other moisture source can damage the new repair again if it remains unresolved.
The U.S. Environmental Protection Agency provides guidance about moisture and mold in buildings.
Correct the source and make sure the area is ready before restoring finished surfaces.
30. Professional Finishing Can Make Repairs Less Noticeable
The goal of drywall repair is not simply to close a hole.
A good repair should blend with the surrounding wall after painting.
That requires attention to patching, joint compound, sanding, texture, primer, and paint.
Professional help can be especially useful for larger repairs or highly visible areas.
Restore the Walls in Your Hampstead, NC Home
Drywall damage can range from tiny nail holes to larger areas affected by impact or moisture.
The best repair begins by identifying what caused the damage. Once the underlying problem is addressed, the wall can be patched, smoothed, prepared, and repainted.
For Hampstead, NC homeowners, proper preparation is what separates a visible patch from a more polished finished surface.
Whether you are repairing one damaged section or preparing several rooms for fresh paint, taking care of drywall first can help the final paint job look cleaner and more consistent.