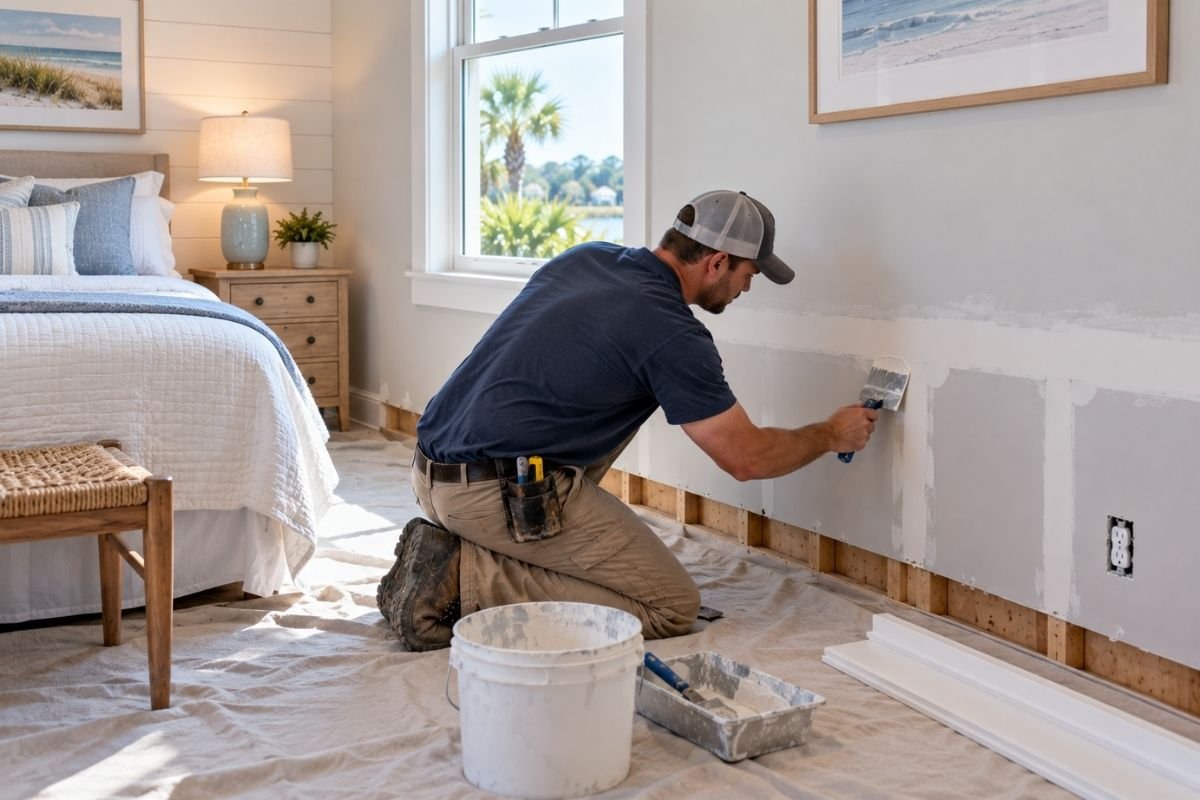
Restoring Your Wilmington, NC Home After Water Damage
Removing water from a Wilmington home is an important step after a leak or storm, but it does not always complete the restoration.
Water can damage drywall, insulation, trim, flooring, cabinets, and painted finishes. Some materials may be saved after proper drying. Others may need repair or replacement before the room can return to normal use.
This rebuilding stage should begin only after the water source has been addressed and affected areas have been appropriately dried.
Here is what Wilmington, NC homeowners should know about restoring interior spaces after water damage.
1. Fix the Water Source Before Rebuilding
Do not begin cosmetic repairs while the original water problem remains active.
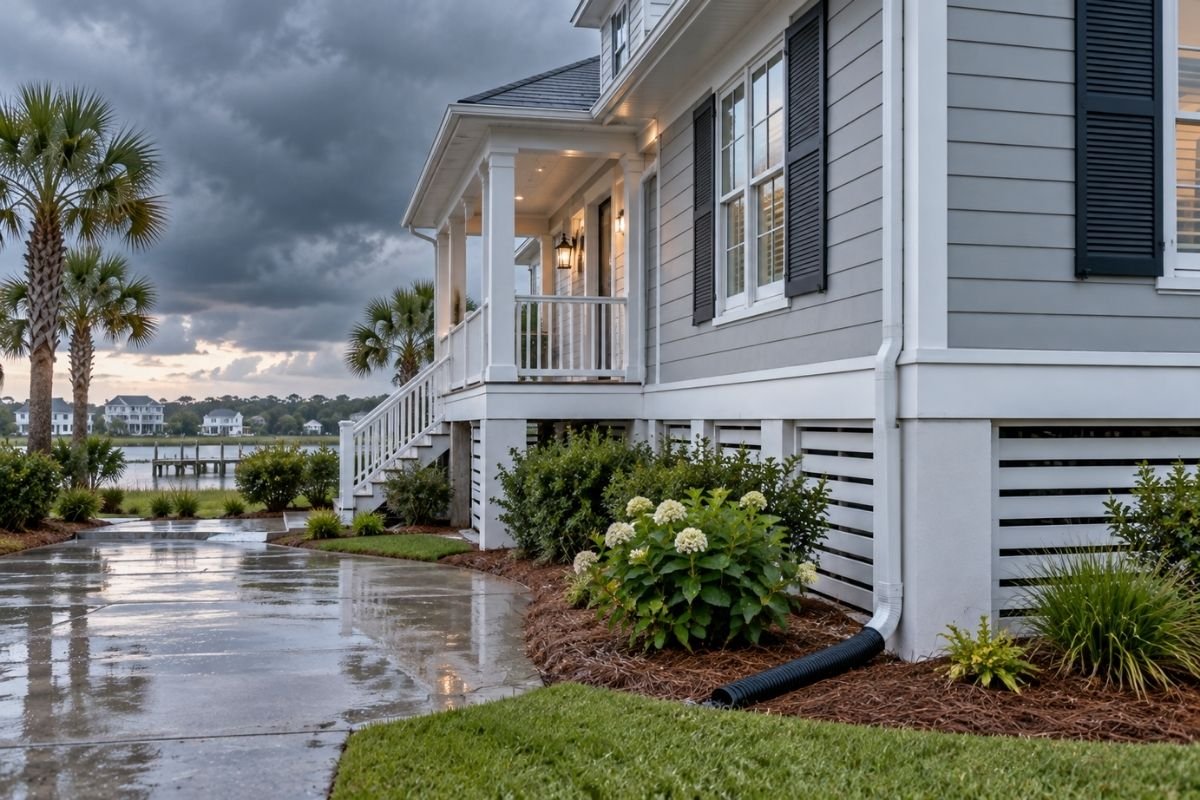
The source may involve plumbing, roofing, windows, appliances, or storm-related damage.
Identify and correct the cause first.
Otherwise, newly repaired materials could become wet again.
2. Make Sure the Area Is Ready for Repairs
A room may look dry before all affected materials are ready for rebuilding.
Moisture can remain inside drywall, wood, flooring systems, and concealed spaces.
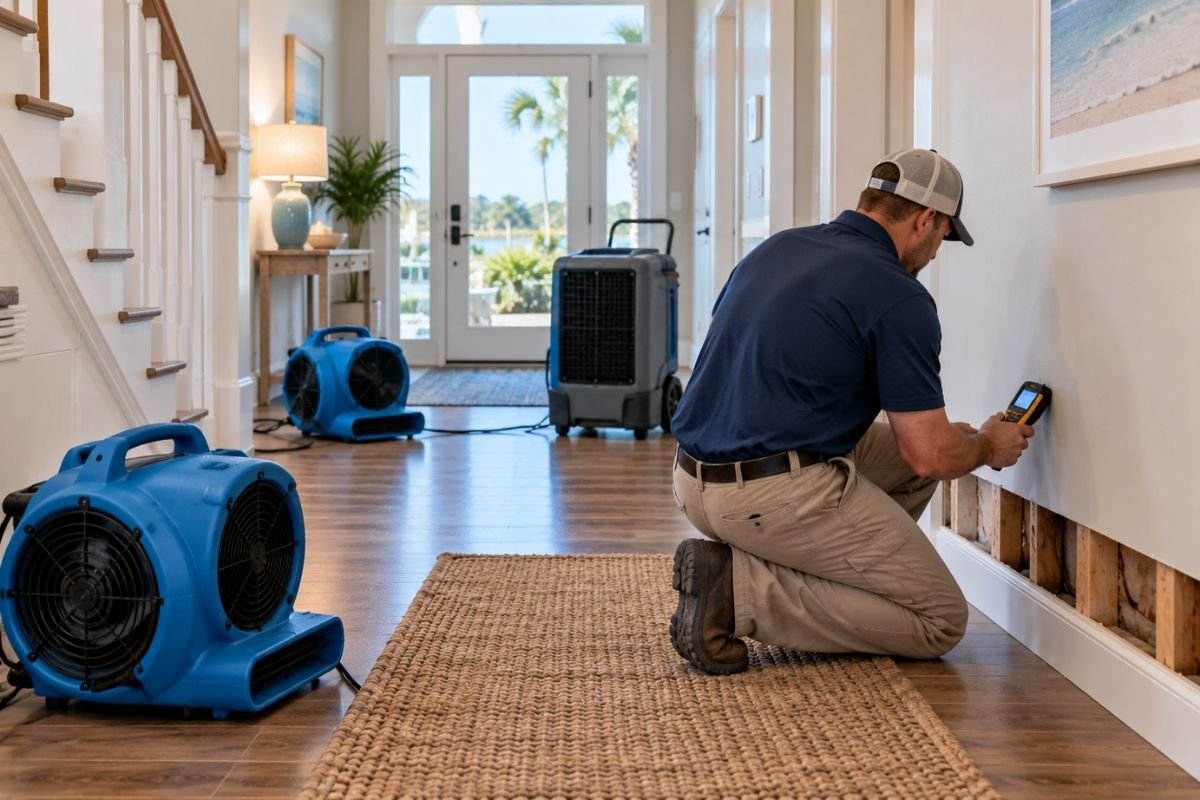
Drying and moisture evaluation should come before reconstruction.
This creates a better starting point for permanent repairs.
3. Remove Materials That Cannot Be Restored
Water does not affect every building material in the same way.
Some materials can be dried and retained. Others may become swollen, weakened, contaminated, or otherwise unsuitable for reuse.
Damaged materials should be evaluated before rebuilding begins.
Replacing only what is necessary can help keep the repair focused on the affected area.
4. Inspect Exposed Wall Cavities
If damaged drywall has been removed, the open wall provides an opportunity for further inspection.
Check framing, insulation, and other visible components for remaining moisture or deterioration.
Do not close the wall simply because the surface nearby feels dry.
The cavity should be ready before new drywall is installed.
5. Replace Damaged Insulation When Necessary
Insulation may become wet when water enters a wall or ceiling.
Its condition depends on the material, the type of water exposure, and how long it remained wet.
Material that cannot be appropriately restored may need replacement.
Complete this work before closing the wall or ceiling.
6. Check Wood Framing Before Covering It
Wood framing can absorb moisture during a water event.
It may require drying before reconstruction continues.
Visible deterioration or structural concerns deserve further evaluation.
Once new drywall is installed, these areas become harder to inspect.
7. Drywall Replacement Comes After Drying
Water-damaged drywall can become soft, swollen, stained, or weakened.
Sections that cannot be retained may need to be removed and replaced.
New drywall should not cover a damp cavity.
Complete necessary drying first, then move into reconstruction.
8. The New Drywall Should Blend With Existing Walls
A successful repair should not look like a separate panel was simply inserted into the wall.
Joints need proper finishing, and repaired areas should transition smoothly into the existing surface.
Careful finishing helps make the repaired section less noticeable after painting.
This is particularly important in rooms with strong natural light.
9. Match Existing Wall Texture
Some Wilmington homes have smooth walls, while others use textured finishes.
A new drywall patch can remain obvious if its texture differs from the surrounding surface.
Match the existing finish as closely as practical before priming.
Paint color alone will not hide a major texture difference.
10. Repair Ceiling Damage Carefully
Leaks from roofing, plumbing, or an upstairs room may affect ceilings.
Damaged sections may require repair or replacement after the source is corrected.
Ceiling texture and paint also need to blend with the surrounding finish.
Material that appears unstable should be treated cautiously.
11. Baseboards May Need Replacement
Baseboards can absorb moisture from wet flooring or drywall.
They may swell, warp, separate, or lose their original shape.
Some trim can be retained after appropriate drying.
Damaged pieces may need replacement before final painting.
12. Door Casings Can Also Be Affected
Water near an exterior or interior doorway can reach surrounding trim.
Inspect casings for swelling, separation, staining, or deterioration.
Check the nearby wall and flooring as well.
Repair the complete affected area rather than focusing only on the visible trim.
13. Flooring Needs Its Own Evaluation
Water can affect flooring differently depending on the material.
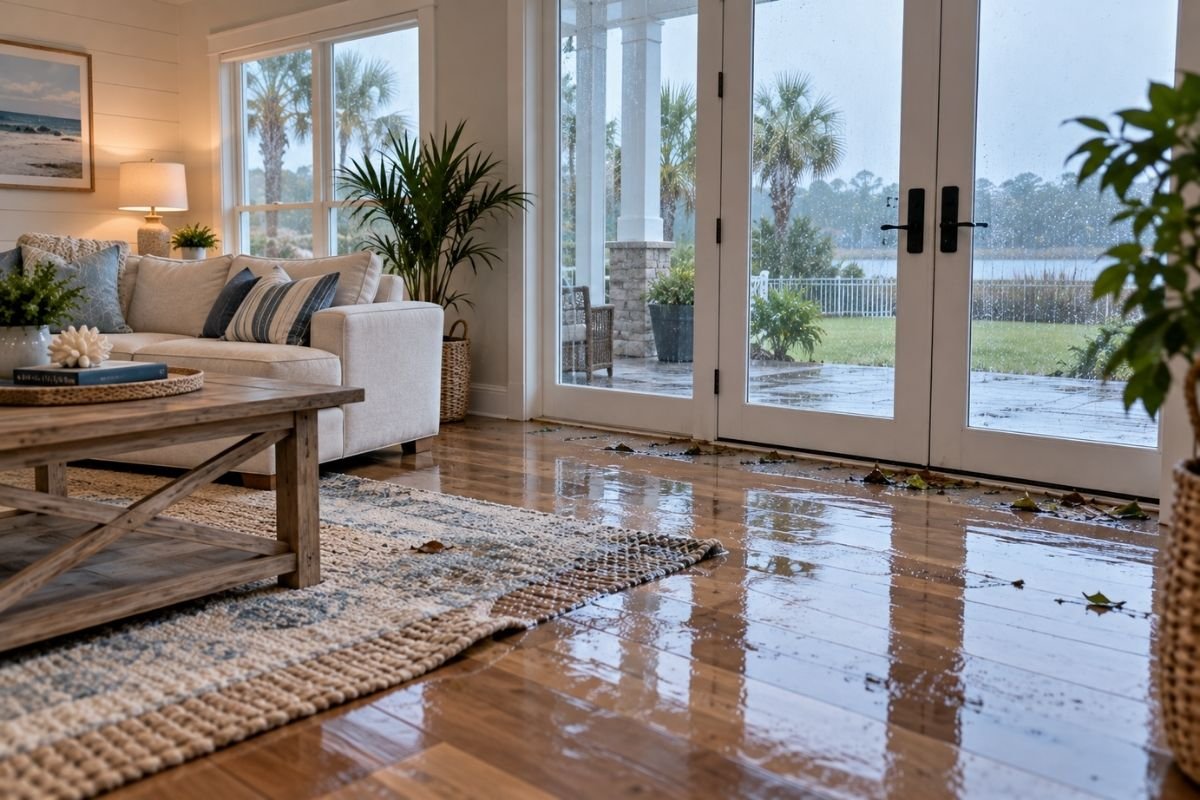
Wood may cup or lift. Some laminate products can swell. Carpet and padding can hold moisture beneath the surface.
The subfloor may also require attention.
Evaluate the entire flooring system before installing replacement material.
14. Do Not Install New Flooring Over a Damp Subfloor
A new floor can make a room look finished very quickly.
However, covering a damp subfloor can conceal an unresolved moisture problem.
Confirm that the underlying material is ready first.
Then follow the flooring manufacturer’s installation requirements.
15. Cabinets May Need Repair After Water Exposure
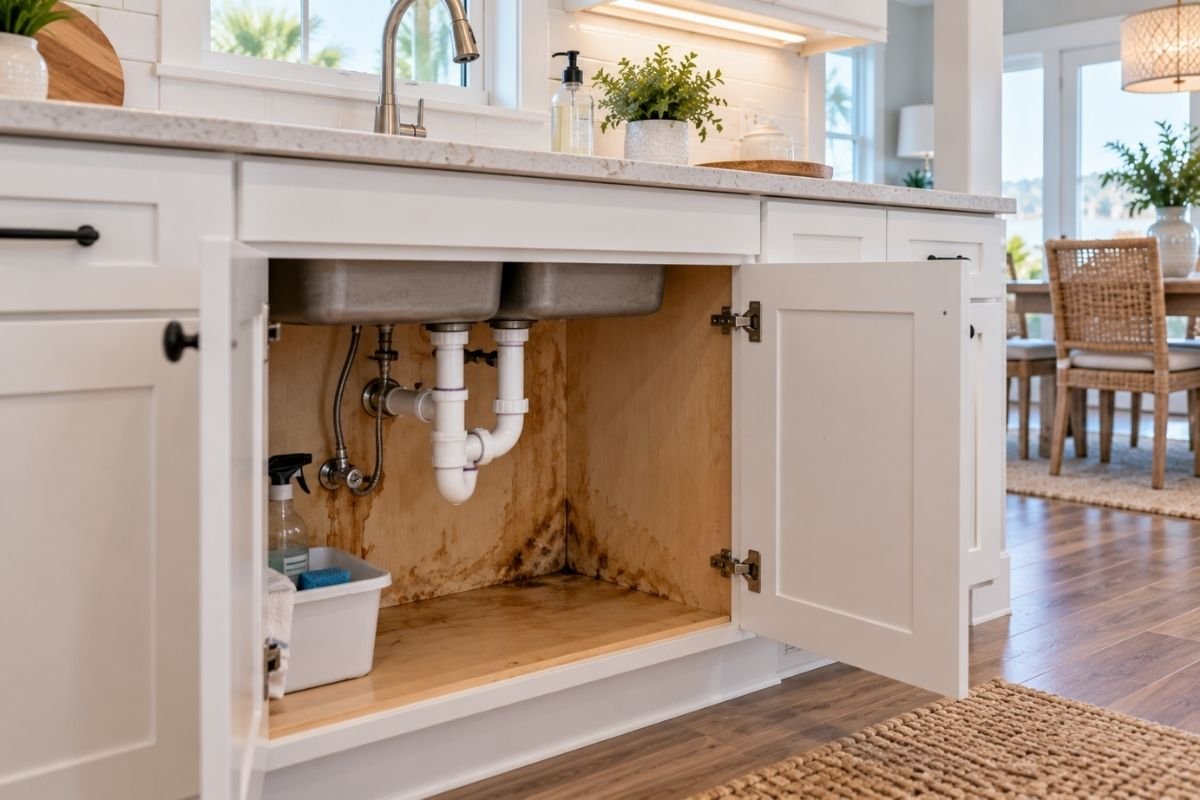
Water can affect cabinet bases, toe kicks, side panels, and nearby flooring.
Look for swelling, staining, separation, or other changes.
The damage may extend beyond the most visible area.
Cabinet repair or replacement should follow appropriate drying.
16. Check Vanities After Bathroom Water Damage
Bathroom vanities can experience similar problems.
Leaks from sinks, supply lines, or other fixtures may remain hidden inside the cabinet.
Inspect the cabinet base and surrounding wall.
Correct the plumbing issue before completing finish repairs.
17. Plumbing Repairs Should Come Before Wall Finishes
If a plumbing problem caused the water damage, complete that repair before closing walls or repainting.
This reduces the chance that finished surfaces will need to be opened again.
It also allows accessible connections to be inspected before reconstruction.
Learn more about common drainage problems in Wilmington, NC homes and why early plumbing attention matters.
18. Complete Electrical Work Before Closing Walls
Water damage can sometimes involve areas containing outlets, switches, fixtures, or wiring.
Electrical concerns should be evaluated by a qualified professional when appropriate.
Complete necessary work while affected areas are accessible.
Then reconstruction can continue without unnecessarily disturbing new finishes.
19. Primer Helps Prepare Repaired Surfaces
New drywall compound and existing painted walls may absorb coatings differently.
Primer can help prepare repaired surfaces for finish paint.
Specific stains or materials may require a particular primer.
Follow the coating manufacturer’s recommendations.
20. Do Not Use Paint to Hide Remaining Moisture
Paint belongs near the end of restoration.
It should not be used to conceal damp drywall, recurring stains, or an unresolved leak.
Correct the source and complete drying first.
Then repair and prepare the surface for painting.
21. Decide Whether to Paint the Full Wall
Touching up only a repaired section can sometimes leave a visible difference.
Existing paint may have changed because of age, sunlight, cleaning, or normal wear.
Painting the entire wall can create a more consistent appearance.
The best approach depends on the location and existing finish.
22. Consider Adjacent Rooms When Matching Paint
Open floor plans can make color differences more noticeable.
If a repaired wall connects visually with another room, consider how the new finish will look from different angles.
Natural and artificial lighting can also change how a color appears.
Plan the final painting stage with the complete space in mind.
23. Replace Damaged Trim Before Final Painting
Installing new trim after the walls are completely finished can create extra touch-up work.
Coordinate baseboards, casings, and other carpentry with the painting sequence.
Fill and prepare new trim before applying its final finish.
A planned order can produce a cleaner result.
24. Keep the Work Area Clean During Reconstruction
Drywall work, sanding, and carpentry can create dust and debris.
Protect unaffected flooring, furniture, and nearby rooms.
Cleaning between stages can also make it easier to inspect repairs.
This becomes especially useful before primer and paint are applied.
25. Water Damage Restoration Is More Than Cosmetic Repair
A restored room should do more than look better.
The source of the water should be corrected, affected materials addressed, and the area properly dried before new finishes conceal the repair.
Skipping these steps can leave an unfinished problem behind a finished-looking wall.
The sequence of work matters.
26. Moisture Control Remains Important During Reconstruction
Preventing recurring moisture helps protect new materials.
The U.S. Environmental Protection Agency provides guidance about moisture control and mold in homes.
Any ongoing leak or damp condition should be addressed before reconstruction is completed.
27. Document the Restoration Process
Photos can provide a useful record of damaged areas and completed work.
Keep relevant receipts, repair documents, and other information related to the project.
If an insurance claim is involved, ask the insurer which records are required.
Requirements can vary by policy and situation.
28. Inspect the Finished Repair
Once reconstruction is complete, look at the repaired area in different lighting.
Check drywall transitions, paint coverage, trim alignment, and flooring edges.
Doors and other nearby components should operate normally.
A final inspection can identify small finishing items before the project is considered complete.
29. Monitor the Area During Future Rain
Weather-related repairs deserve continued attention.
Check the restored area during or after future heavy rainfall.
Look for new staining, dampness, peeling paint, or unusual odors.
Returning symptoms can indicate that the original water source still needs attention.
30. A Planned Restoration Can Bring the Room Back Together
Water damage can leave a room with several different repair needs at once.
Drywall, trim, flooring, paint, plumbing, and other components may all be involved.
Handling those repairs in a logical sequence helps avoid repeating finished work.
The goal is a space that looks complete because the underlying damage was addressed first.
Water Damage Repair and Restoration in Wilmington, NC
Rebuilding after water damage is the stage where a Wilmington home begins to feel normal again. However, reconstruction should not begin until the water source is controlled and affected materials have been properly addressed.
The work may include drywall replacement, texture matching, trim repair, flooring work, priming, and painting. Plumbing or electrical repairs may also need to happen before walls and finishes are closed.
A successful restoration follows the right order: stop the water, evaluate the damage, dry the structure, repair affected materials, and then restore the finishes.
Taking that approach can help turn a water-damaged room back into a clean, comfortable, finished part of the home.