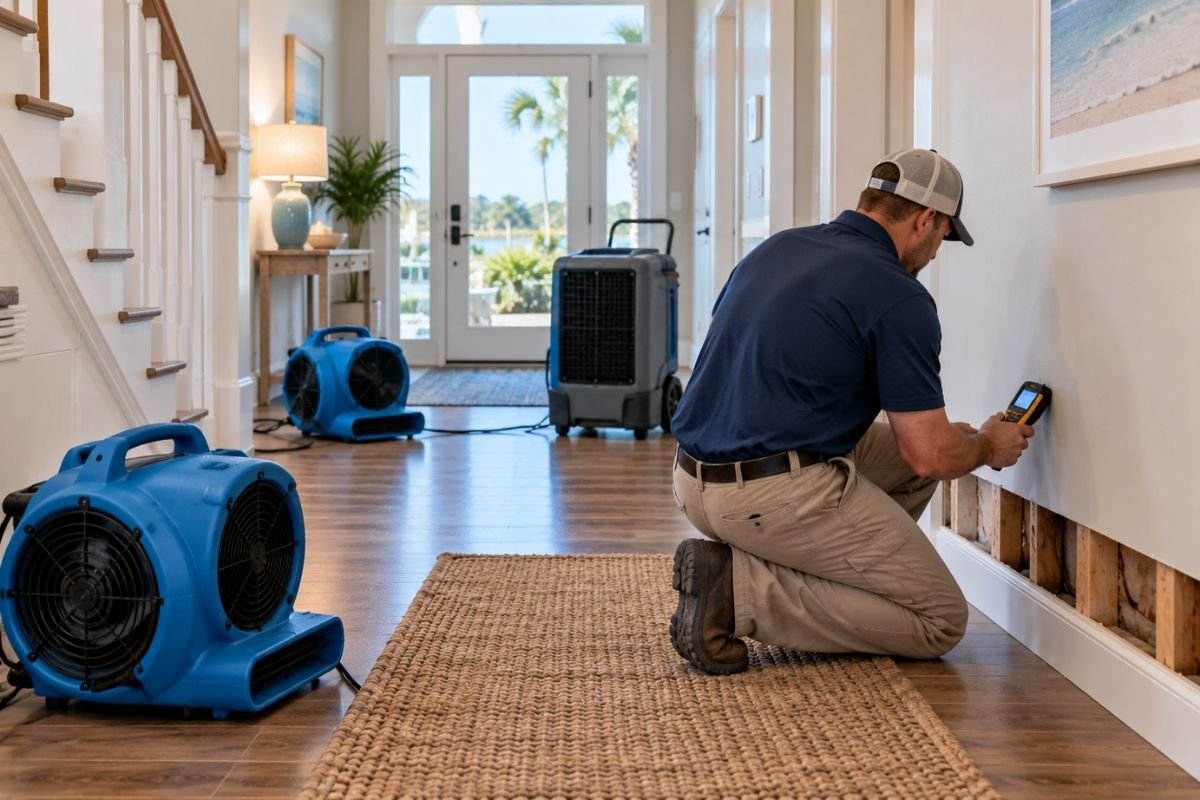
Water Extraction and Drying in Wrightsville Beach, NC: Why Fast Action Matters
When water enters a Wrightsville Beach home, removing the visible water is only the beginning of the restoration process.
Moisture can move beneath flooring, soak into drywall, reach baseboards, and remain inside other porous materials. A room may look much better after the standing water disappears while parts of the structure are still damp.
This is why water damage restoration often includes both water extraction and controlled drying.
Understanding these steps can help Wrightsville Beach, NC homeowners know what to expect after a leak, appliance problem, plumbing failure, or coastal weather event.
1. First, the Water Source Needs to Be Controlled
Drying cannot solve a problem while new water continues to enter the home.
The source may be a plumbing leak, appliance connection, damaged window, roof issue, or storm-related opening.
Identify and control the source when it is safe to do so.
Some situations require a plumber, roofer, electrician, or another qualified professional before restoration can proceed.
2. Safety Comes Before Water Removal
Standing water can create hazards inside a home.
Do not enter water if electrical outlets, appliances, wiring, or other energized equipment may be involved.
Water can also make flooring slippery or conceal damaged materials.
When conditions are uncertain, wait for an appropriate safety assessment.
3. Water Extraction Removes Bulk Water
Once the area is safe and the source is controlled, removing accumulated water becomes a priority.
Extraction equipment can remove much more water than ordinary household cleanup methods in larger incidents.
This reduces the amount of moisture that must evaporate during drying.
However, extraction does not automatically mean the building materials are dry.
4. Surface Water Is Only Part of the Problem
Water moves into porous materials quickly.
Drywall, wood, carpet padding, and other materials may absorb moisture even when very little water remains on the visible surface.
Water can also travel through gaps and transitions between materials.
The restoration process needs to consider where that moisture may have moved.
5. Carpet Can Hold Water Below the Surface
The top of a carpet may begin to feel dry while padding underneath remains wet.
Moisture may also reach the subfloor.
The condition of each layer should be considered after significant water exposure.
Some materials may be dried, while others may require removal depending on the circumstances.
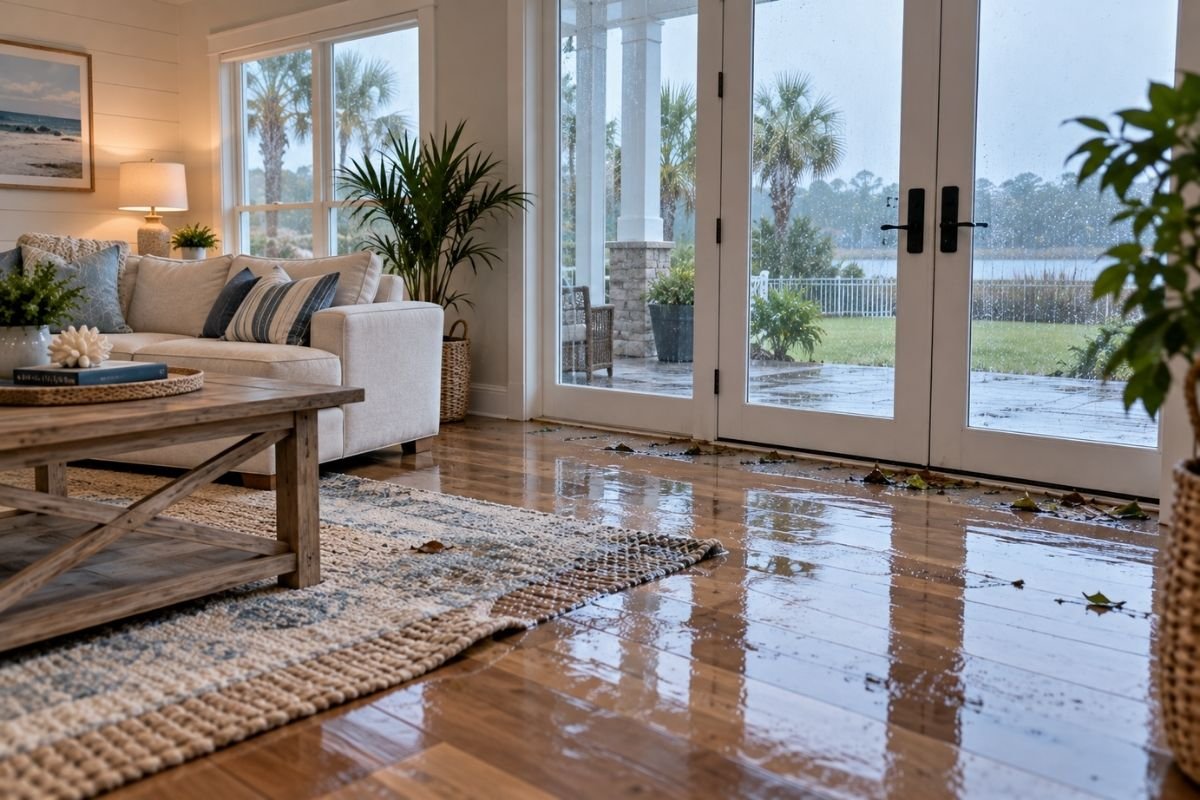
6. Hardwood Flooring Can Trap Moisture
Water can move between boards and beneath finished wood flooring.
Homeowners may later notice cupping, lifting, separation, or other changes.
Drying decisions depend on the flooring system and the extent of exposure.
Removing visible water from the top is not always enough.
7. Drywall Can Absorb Water
Drywall is another material that can take in moisture.
Water may enter from below, behind the wall, or through the ceiling.
Look for softness, staining, swelling, peeling finishes, or changes around baseboards.
Damaged material should be evaluated before repairs begin.
8. Insulation Can Remain Wet Inside Cavities
Wall and ceiling insulation may be hidden from view.
If water reaches a cavity, the painted drywall surface alone cannot reveal everything happening behind it.
Wet insulation can complicate the drying process.
Its condition may need to be evaluated as part of restoration.
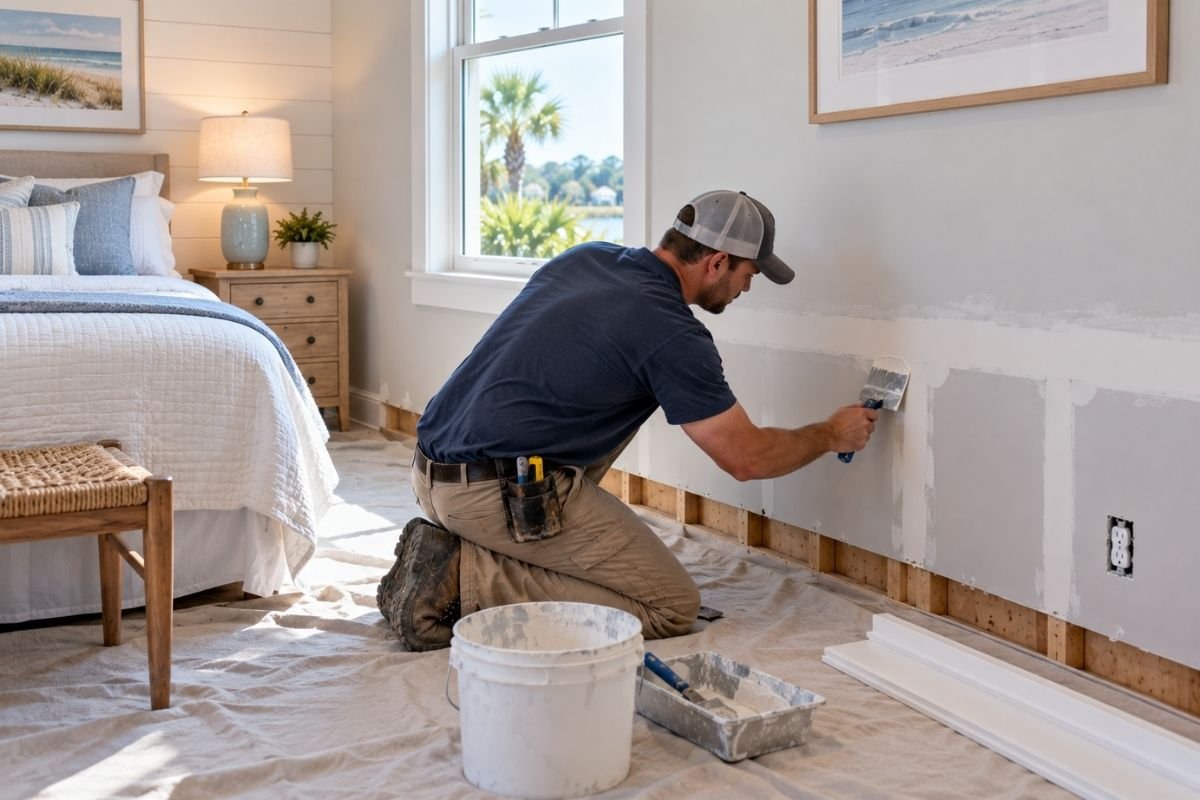
9. Baseboards Can Hide Moisture
Baseboards sit directly against areas where water can collect or move upward into drywall.
They may swell, separate, stain, or conceal damp material behind them.
In some restoration situations, trim may need to be removed to evaluate or access affected areas.
The correct approach depends on the extent of the damage.
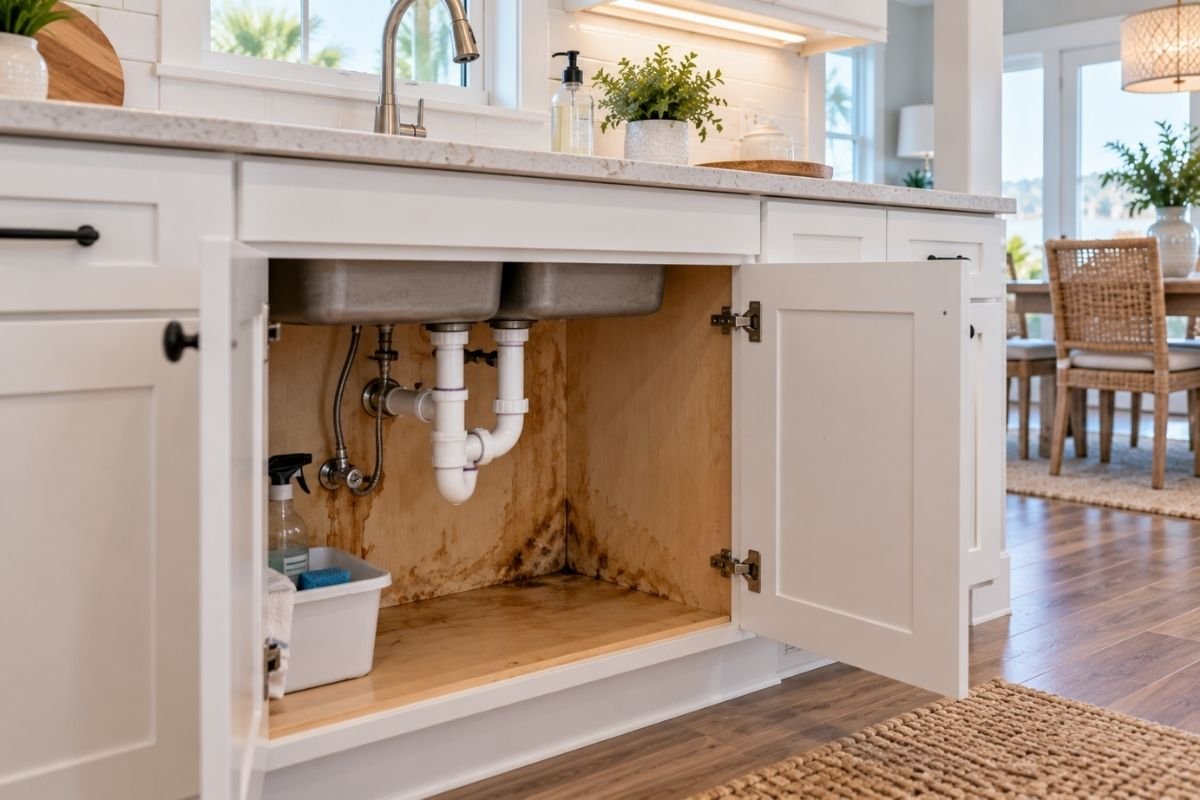
10. Cabinets Can Create Concealed Spaces
Kitchens and bathrooms contain areas that are difficult to inspect visually.
Water can move beneath cabinets or enter the material at the cabinet base.
Look for swelling, staining, odors, or changes in flooring nearby.
Concealed moisture may require further evaluation.
11. Moisture Measurement Helps Guide Drying
A material can appear dry without actually reaching an appropriate moisture condition.
Moisture measurements can provide more useful information than appearance alone.
They can help identify affected areas and track changes during drying.
This information can also help determine when additional drying is still needed.
12. Air Movement Supports Evaporation
Controlled airflow can help moisture move from wet materials into the surrounding air.
Professional drying plans may use air-moving equipment positioned around the affected area.
Placement depends on the room, materials, and extent of water exposure.
Simply placing one household fan in the room may not address moisture throughout the structure.
13. Dehumidification Helps Manage Moisture in the Air
As wet materials release moisture, the surrounding air can become more humid.
Dehumidification helps remove moisture from that air during controlled drying.
This supports continued evaporation from affected building materials.
The drying process may use airflow and dehumidification together.
14. Coastal Humidity Can Influence Drying Conditions
Wrightsville Beach homeowners are familiar with humid coastal weather.
Opening every window is not automatically the best drying strategy when outdoor air contains substantial moisture.
The conditions inside and outside the property should be considered.
Controlled drying can provide a more manageable environment.
15. Drying Takes Time
Water extraction can create an immediate visual improvement.
Structural drying is usually more gradual.
The time required varies according to the materials involved, the amount of water, environmental conditions, and how long the area remained wet.
There is no single drying time that applies to every property.
16. Monitoring Matters During the Process
Drying equipment alone does not determine when restoration is complete.
Affected materials may need to be checked during the process.
Monitoring helps show whether moisture levels are moving in the right direction.
It can also reveal areas that need additional attention.
17. Some Materials May Need Removal
Not every wet material can or should remain in place.
Condition, contamination, deterioration, and the ability to dry the material all affect the decision.
Damaged drywall, insulation, flooring, or other components may sometimes need removal.
That decision should be based on the actual situation rather than appearance alone.
18. Drying Comes Before Drywall Repair
It may be tempting to patch an opened wall as soon as visible water disappears.
Closing the area too early can conceal remaining moisture.
Complete necessary drying before restoring drywall and finishes.
This creates a better foundation for the repair.
19. Painting Should Be a Later Step
Fresh paint can make a repaired room look complete.
It cannot dry a damp wall or solve the original water problem.
Complete extraction, drying, material repairs, and surface preparation first.
Primer and finish paint belong near the end of the restoration process.
20. Water Damage May Begin With Plumbing
Storms are not the only source of water inside a coastal home.
Supply lines, toilets, sinks, fixtures, and other plumbing components can also leak.
Even a relatively small leak can affect nearby drywall or flooring if it continues unnoticed.
Learn more about plumbing repair in Wrightsville Beach, NC and why early attention to leaks matters.
21. Appliance Leaks Can Spread Quickly
Washing machines, refrigerators, dishwashers, and other water-connected appliances can create unexpected damage.
Water may travel beneath cabinets or flooring before homeowners notice it.
Inspect surrounding areas if an appliance develops a leak.
Do not assume the damage ends where the visible water stops.
22. Roof Leaks Can Affect Multiple Materials
Water entering through a roof can reach insulation, framing, ceilings, and walls.
The first visible stain may appear some distance from the entry point.
Control the roof-related source before completing interior restoration.
Otherwise, the same area may become wet again during the next rain.
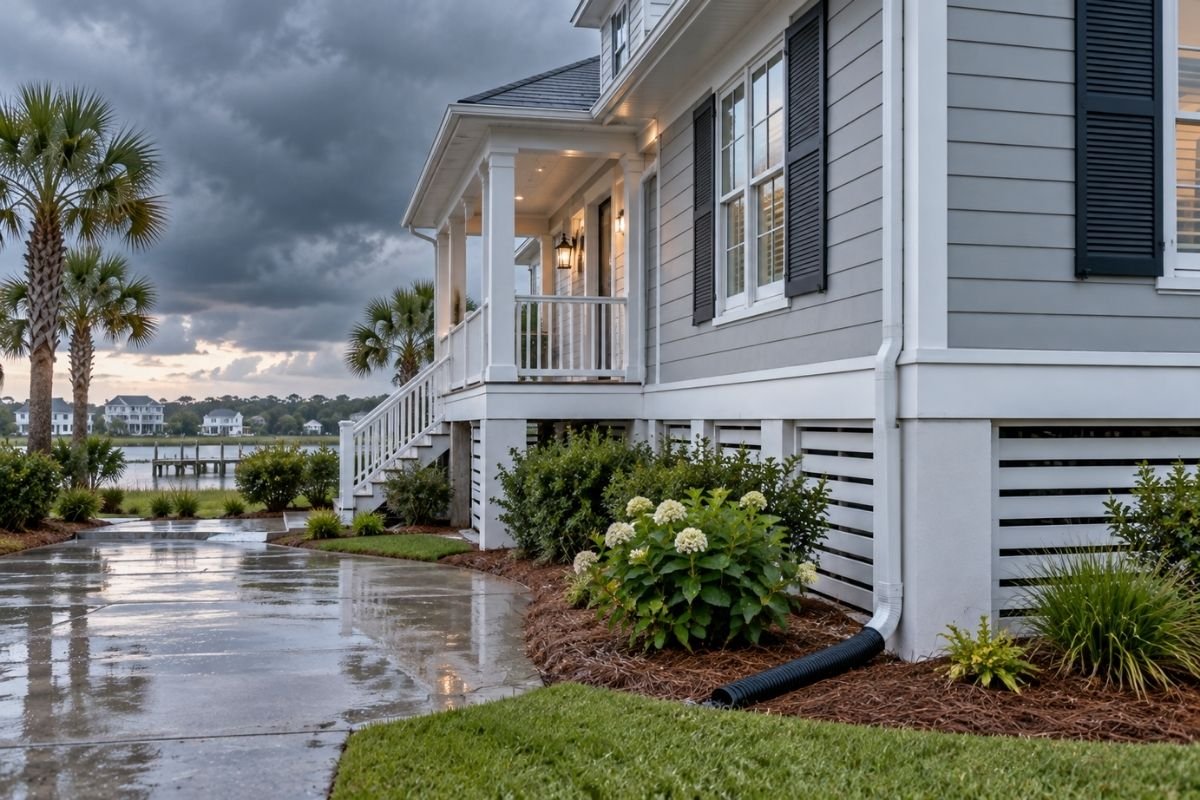
23. Wind-Driven Rain Can Reach Doors and Windows
Coastal weather can push rain against exterior openings from different directions.
After severe weather, inspect around windows, patio doors, and exterior entrances.
Look for wet trim, damaged drywall, or flooring changes.
These areas may need both exterior correction and interior drying.
24. Odor Can Be a Clue That Moisture Remains
A persistent musty odor after cleanup should not simply be covered with fragrance.
It may indicate that damp materials remain somewhere nearby.
Check concealed areas and previously affected materials.
The moisture source and drying conditions may need further attention.
25. Moisture Control Helps Reduce Mold Problems
Prompt moisture control is an important part of water damage restoration.
The U.S. Environmental Protection Agency recommends addressing water problems quickly and provides guidance on mold cleanup and moisture control.
The appropriate response depends on the size and nature of the affected area.
26. Contents May Need Attention Too
Water damage does not affect only the building.
Furniture, rugs, boxes, and other belongings may also become wet.
Moving suitable items away from affected areas can provide better access for drying.
Some contents may require separate cleaning or evaluation.
27. Document Damage When Appropriate
Photos can help create a record of the original condition.
Document visible water, damaged materials, and affected belongings when it is safe.
Keep relevant receipts and restoration records.
Contact your insurance provider for guidance about any claim requirements.
28. Restoration Should Address the Cause and the Damage
Drying a wall without repairing the leak leaves the home vulnerable to another water event.
Likewise, fixing a leak without addressing wet materials can leave existing damage behind.
A complete approach considers both parts of the problem.
The goal is to stop new water and properly address what is already wet.
29. Continue Checking the Area After Restoration
Pay attention to repaired areas after the drying and rebuilding work is complete.
Watch for returning stains, odors, peeling finishes, or changes in flooring.
For weather-related leaks, inspect the area during future rainfall.
Recurring symptoms deserve another investigation.
30. Fast Action Can Simplify the Restoration Process
Water can continue moving through porous building materials after the original event.
Starting appropriate cleanup and drying early can reduce the amount of time those materials remain exposed to moisture.
Safety and source control still come first.
Once those issues are addressed, the drying process should begin without unnecessary delay.
Water Damage Restoration in Wrightsville Beach, NC
Removing visible water is an important step after a leak or storm, but it does not necessarily mean a Wrightsville Beach home is dry.
Moisture can remain beneath flooring, behind baseboards, inside drywall, and within other building materials. Effective restoration looks beyond the surface.
The process may include source control, water extraction, moisture evaluation, controlled airflow, dehumidification, material removal when necessary, and continued monitoring.
Once the affected areas are properly dried, repairs and finishing work can begin. Following the steps in the right order helps create a more complete restoration after water damage.