How to Plan the Perfect Outdoor Shower in Wilmington, NC
An outdoor shower can be one of the most practical additions to a Wilmington, NC home. Whether you need a convenient place to rinse off after visiting the beach, clean up after working in the yard, wash pets, or create a private open-air bathing space, the right design can make outdoor living easier and more enjoyable.
However, a successful outdoor shower requires more planning than simply attaching a showerhead to an exterior wall. The location, privacy, plumbing, drainage, flooring, materials, storage, and surrounding landscape all influence how well the finished space works.
If you are considering an outdoor shower for your Wilmington property, these steps can help you plan a space that is practical, attractive, and appropriate for coastal North Carolina conditions.
Step 1: Decide How You Will Use the Outdoor Shower
Start by deciding what you expect from the shower.
A homeowner who only wants to rinse sandy feet and beach equipment may need a very different setup from someone planning to use the outdoor shower regularly for bathing.
Common uses include:
- Rinsing off after beach trips
- Removing sand before entering the house
- Showering before or after using a pool
- Washing pets
- Cleaning surfboards and outdoor equipment
- Rinsing off after gardening or yard work
- Providing an additional shower for guests
Knowing the primary purpose makes it easier to decide whether you need hot water, a full enclosure, storage, lighting, or simply a convenient rinse station.
Step 2: Find the Best Location
The right location can make the outdoor shower significantly more convenient while potentially simplifying plumbing work.
Many homeowners choose a location near an existing exterior wall, pool, patio, deck, or frequently used backyard entrance.
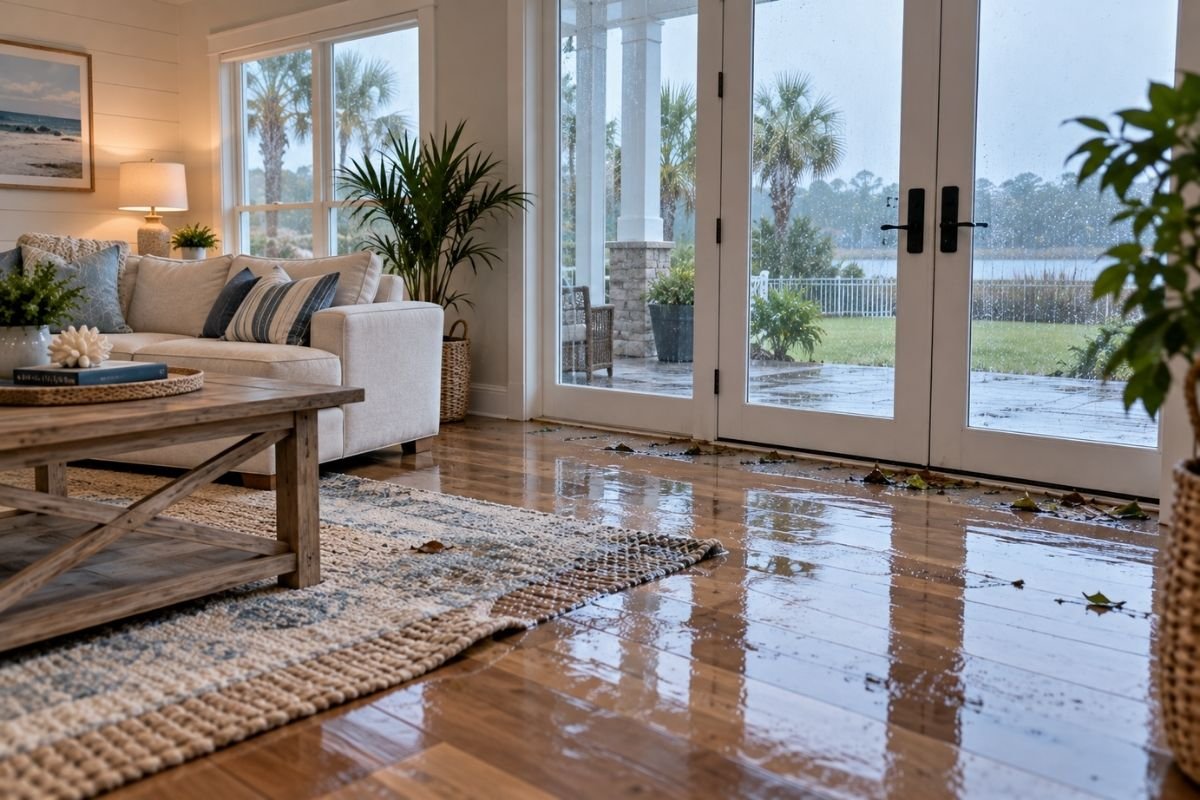
If the shower is mainly intended for use after beach trips, think about the path people normally take when returning to the property. Ideally, they should be able to reach the shower before carrying sand and wet belongings into the house.
When evaluating possible locations, consider:
- Existing plumbing access
- Privacy
- Drainage
- Sun and shade
- Wind exposure
- Distance from doors and windows
- Neighboring properties
- Access from outdoor living areas
Step 3: Decide How Much Privacy You Need
A simple foot-rinse station may need very little screening. A shower intended for bathing requires considerably more privacy.
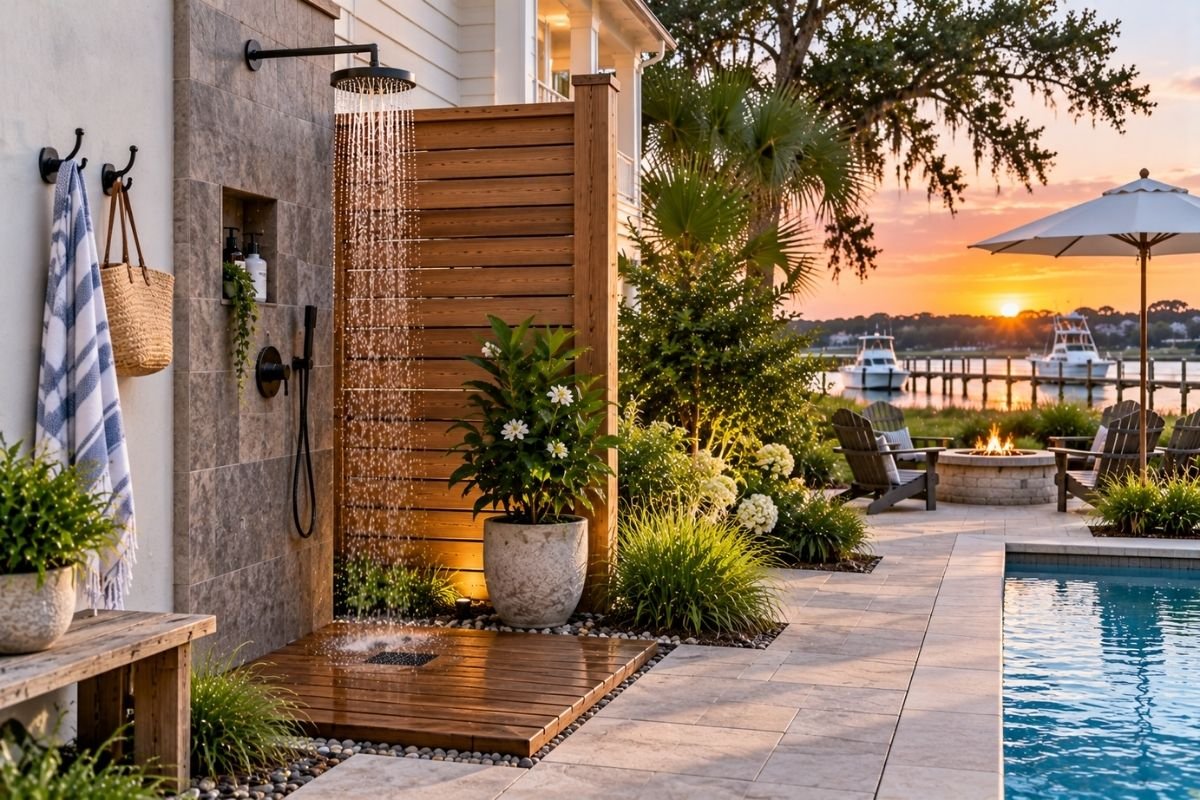
Privacy can be created with wood or composite walls, fencing, masonry, decorative screens, landscaping, or a combination of several elements.
Before deciding on enclosure height, look beyond the immediate backyard. Consider neighboring windows, elevated decks, balconies, and upper floors that may overlook the shower.
At the same time, avoid making the enclosure unnecessarily restrictive. Natural light and airflow can help the space feel more comfortable and allow wet surfaces to dry.
Step 4: Choose Between Cold Water and Hot and Cold Water
For a quick beach rinse, cold water may be all that is necessary.
If the outdoor shower will function as an additional bathing area, having both hot and cold water can make it much more comfortable and useful throughout more of the year.
The location of the shower relative to existing water lines and the home’s water-heating system may affect the complexity of the installation.
Make this decision early so the required plumbing can be incorporated before walls, flooring, and other finished surfaces are installed.
Step 5: Plan Drainage Before Building the Enclosure
Drainage is one of the most important practical considerations for an outdoor shower.
Water should not routinely collect around the shower, foundation, walkways, landscaping, or neighboring areas. Poor drainage can create muddy conditions, slippery surfaces, and ongoing moisture problems.
The appropriate solution depends on several factors, including soil conditions, surrounding surfaces, shower location, expected water usage, and applicable local requirements.
Drainage should be part of the original project plan rather than something addressed after the shower is already operational.
Step 6: Select Flooring for Wet Conditions
Outdoor shower flooring needs to manage two things particularly well: water and foot traffic.
Possible options may include textured outdoor tile, stone, concrete, appropriately designed decking, or other exterior-rated surfaces.
Whatever material is selected, homeowners should consider:
- Traction when wet
- Drainage
- Comfort under bare feet
- Resistance to outdoor conditions
- Cleaning requirements
- How the material complements the home
The path leading away from the shower should also provide stable footing for wet feet.
Step 7: Choose Materials for Wilmington’s Coastal Conditions
Outdoor improvements in Wilmington can be exposed to humidity, rain, strong sunlight, wind, and salt carried through the air.
These conditions can affect certain metals, finishes, fasteners, and building materials over time.
Depending on the design, an outdoor shower might incorporate treated or naturally durable wood, composite materials, masonry, stone, exterior-rated tile, and corrosion-resistant hardware.
Material choices should be based on both appearance and the amount of maintenance homeowners are comfortable performing.
Step 8: Choose the Right Shower Fixtures
The showerhead is only one part of the fixture setup.
A large overhead fixture can provide a comfortable bathing experience, while a handheld sprayer can be useful for children, pets, sandy feet, and outdoor equipment.
For some homes, using both provides the most flexibility.
Coastal exposure should also be considered when choosing finishes and hardware. Fixtures intended for outdoor environments are generally a more appropriate choice than products designed solely for indoor bathrooms.
Step 9: Add Useful Storage
A few storage features can make the shower considerably easier to use.
Consider adding:
- Towel hooks
- A built-in shelf
- A soap niche
- A small bench
- Dry storage outside the wet area
- Hooks for swimsuits or clothing
For beach-going households, a nearby rack for surfboards, beach chairs, or other equipment may also make sense.
Step 10: Plan for Evening Use
If the shower will occasionally be used after sunset, include lighting during the planning stage.
Lighting around the entrance and shower area can improve visibility and make the space feel more welcoming.
Fixtures used around wet outdoor locations should be appropriate for their environment, and electrical work should be completed according to applicable requirements.
Step 11: Make Ventilation Part of the Design
Privacy walls should not prevent the shower from drying effectively.
In Wilmington’s humid environment, good airflow can help reduce the amount of time surfaces remain damp.
Slatted walls, an open top, or appropriate gaps within the design can provide ventilation while still maintaining privacy.
The exact approach will depend on the layout of the property and how exposed the shower is to surrounding views.
Step 12: Connect the Shower to the Rest of the Backyard
An outdoor shower can feel more intentional when it is planned as part of the overall outdoor environment.
For example, pathways can connect it with a pool, patio, deck, or outdoor entertaining area. Materials from the house or nearby hardscape can be repeated in the shower design, while landscaping can soften the enclosure.
If you’re planning several improvements at once, consider how the shower will relate to cooking and entertaining areas. Our guide on transforming a Wilmington backyard with an outdoor kitchen offers additional ideas for creating a more complete outdoor living space.
Step 13: Consider a Dedicated Foot Rinse
One practical addition for coastal homes is a separate foot-washing fixture.
Instead of turning on the entire shower every time someone comes home with sandy feet, a low-mounted faucet or sprayer provides a quick rinsing option.
This can be particularly useful for children, frequent beach visitors, and households where guests regularly move between the beach and backyard.
Step 14: Think About Pets
Homeowners with dogs may want to incorporate pet washing into the design.
A handheld sprayer makes it easier to rinse muddy paws or wash a dog without using an indoor bathtub.
If pet washing will be a regular use, consider the shower’s height, flooring traction, drainage, and whether a low bench or platform would make the process easier.
Step 15: Prepare for Seasonal Weather
Outdoor plumbing and fixtures remain exposed to changing weather throughout the year.
The shower should be designed so plumbing can be appropriately maintained and protected during colder conditions. Fixtures, doors, hooks, and decorative accessories should also be secured appropriately for wind and severe weather.
Removable items can be stored when tropical weather threatens rather than leaving them exposed outdoors.
Step 16: Keep Maintenance Simple
A well-designed outdoor shower should be relatively straightforward to maintain.
Sand, leaves, and outdoor debris should be easy to remove from flooring and drainage areas. Plumbing components should remain accessible, and homeowners should be able to inspect hardware and enclosure materials without dismantling the shower.
Periodic checks can identify:
- Corrosion
- Loose hardware
- Blocked drainage
- Cracked grout or surfaces
- Damaged wood or finishes
- Plumbing leaks
Addressing small maintenance issues early can help keep the shower attractive and functional.
Step 17: Check Local Requirements
Outdoor shower projects can vary considerably in scope. A simple rinse fixture may involve different considerations from a fully enclosed shower with hot water, drainage, lighting, and new plumbing.
Before starting significant construction, Wilmington homeowners should determine whether any permits, inspections, plumbing requirements, electrical requirements, or other local rules apply to their project.
The City of Wilmington provides information about local services, development, and permitting. Homeowners should confirm current requirements with the appropriate department for their specific property and project.
Design an Outdoor Shower Around Your Wilmington Lifestyle
There is no single perfect outdoor shower design for every home. The best solution depends on where the property is located, how the shower will be used, available space, privacy needs, existing plumbing, and the style of the surrounding outdoor area.
A simple rinse station may be exactly what a beach-going household needs. Another homeowner may prefer a private enclosure with warm water, rainfall fixtures, lighting, storage, and landscaping.
By making these decisions before construction begins, homeowners can create a space that feels intentional rather than improvised.
Plan a Wilmington Outdoor Shower You’ll Actually Use
An outdoor shower can add convenience to everyday coastal living while helping keep sand, water, and outdoor messes outside the home.
Start with how you intend to use the space, then work through location, privacy, plumbing, drainage, flooring, materials, fixtures, storage, and lighting. Finally, consider how the shower connects with the rest of your backyard.
With thoughtful planning, an outdoor shower can become a practical and attractive part of a Wilmington home that gets used far more often than homeowners initially expect.