Wall Repairs to Make Before Interior Painting in Wilmington, NC
A fresh coat of paint can make a Wilmington home feel brighter, cleaner, and more updated. However, new paint also has a way of drawing attention to wall imperfections that were easy to overlook before.
Small holes, dents, cracks, rough patches, peeling paint, and damaged drywall can remain visible beneath a new finish. In some cases, fresh paint makes those flaws stand out even more.
That is why a successful interior painting project often begins with wall repair rather than a paintbrush.
For Wilmington, NC homeowners planning to repaint, here are common wall problems worth correcting before the first finish coat goes on.
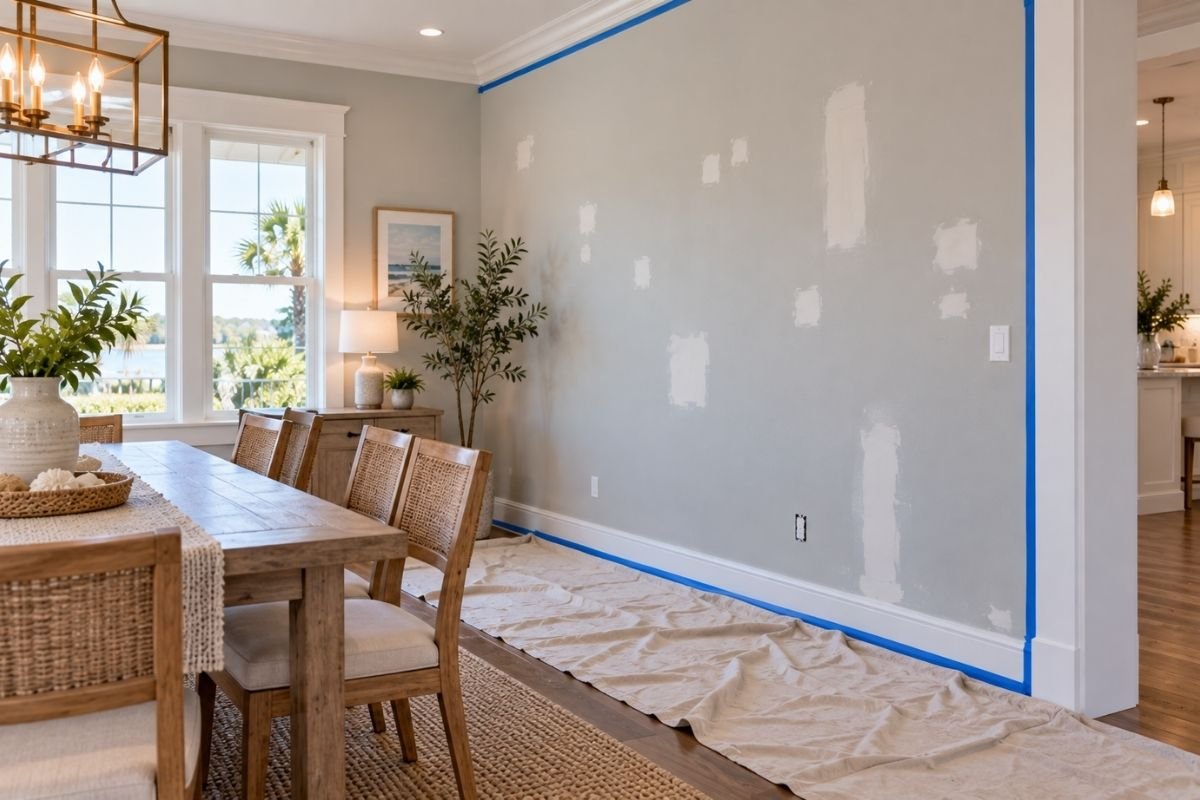
1. Fill Old Nail Holes
Removing pictures and decorations often leaves small holes behind.
One or two may seem insignificant. A wall covered with old nail holes can look unfinished after repainting.
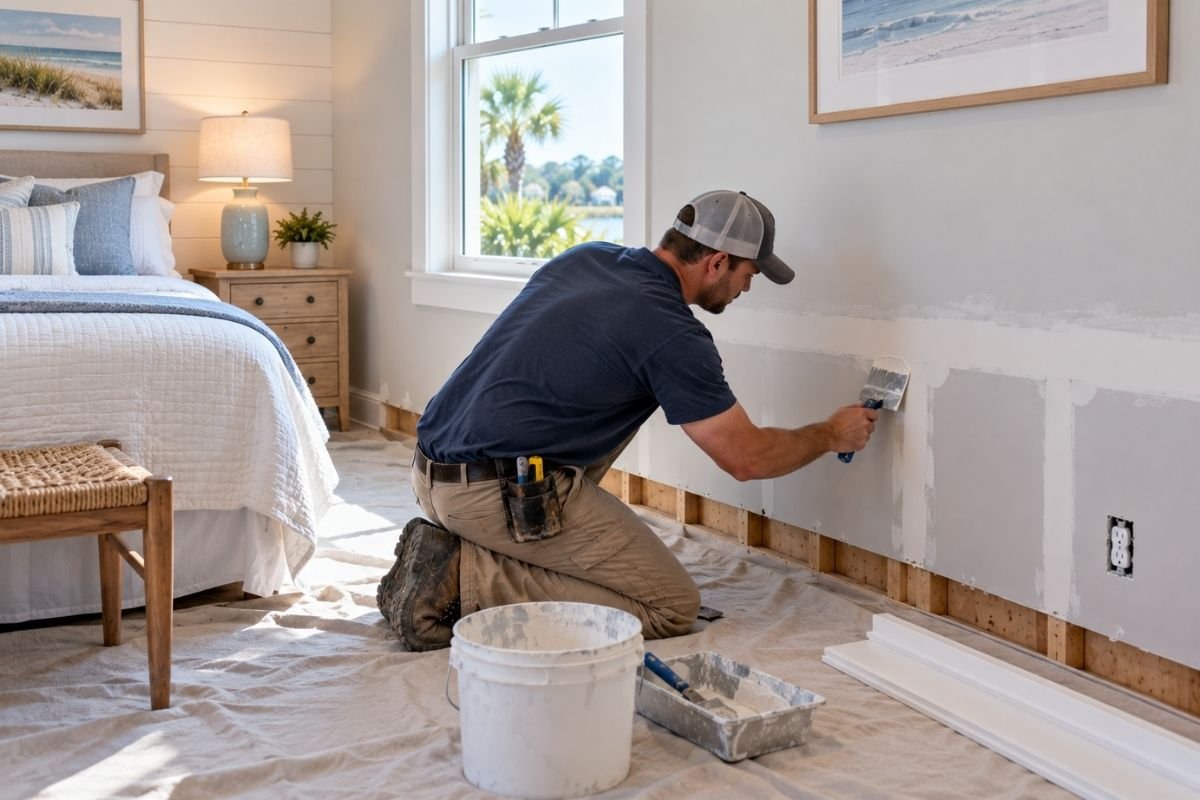
Fill the holes with an appropriate repair material and smooth the surface.
Once prepared correctly, the repaired spots should be far less noticeable beneath the new paint.
2. Repair Screw and Anchor Holes
Wall anchors can leave larger openings than ordinary picture nails.
These are common after removing shelves, televisions, mirrors, and other mounted items.
Remove unnecessary hardware before repairing the wall.
The repair should finish level with the surrounding surface rather than leaving a raised mound.
3. Fix Small Dents
Furniture, toys, moving boxes, and everyday activity can leave shallow dents in drywall.
They may seem minor before painting.
Once fresh paint reflects light across the wall, however, those depressions can become more obvious.
Correct dents during the preparation stage.
4. Repair Damage Behind Doors
Door handles can damage drywall when a door opens too far.
Repeated impact may create a dent or eventually break through the wall surface.
Repair the drywall before painting.
Then consider installing or adjusting a doorstop so the damage does not immediately return.
5. Check High-Traffic Corners
Outside corners receive plenty of accidental contact.
Furniture, luggage, vacuum cleaners, and moving boxes can chip or dent the finished edge.
A damaged corner can remain obvious even after the wall receives a beautiful new color.
Restore the edge before painting begins.
6. Look for Loose Drywall Tape
Drywall tape helps finish joints between panels.
If it becomes loose or visible, paint alone will not secure it properly.
The affected joint needs appropriate repair and finishing.
Once smooth, it can be primed and painted with the surrounding wall.
7. Address Visible Drywall Seams
A drywall seam may become noticeable because of movement, previous finishing work, or other conditions.
Adding more paint will not flatten an uneven joint.
Correct the surface first.
This is particularly important on walls that receive strong natural light from the side.
8. Investigate Recurring Cracks
Small cracks can appear in finished walls for several reasons.
Before filling one, consider whether it has been repaired before.
A crack that repeatedly returns, grows, or appears alongside other changes may deserve closer evaluation.
Do not rely on paint to hide a recurring problem.
9. Correct Nail Pops
Nail or fastener pops can create small raised areas in drywall.
They often become more visible after repainting because light catches the uneven surface.
The raised area needs to be corrected before finishing.
Simply sanding the paint around it may not solve the underlying issue.
10. Remove Loose Paint
New paint needs a stable surface.
If the existing coating is peeling or flaking, applying another layer over it can produce a poor result.
Remove unstable material appropriately and determine why the paint failed.
Then prepare the exposed area for the new coating.
11. Investigate Bubbling Paint
Paint bubbles can signal a problem beneath the finish.
Moisture is one possible cause.
Do not simply flatten the bubble and paint over it without checking the area.
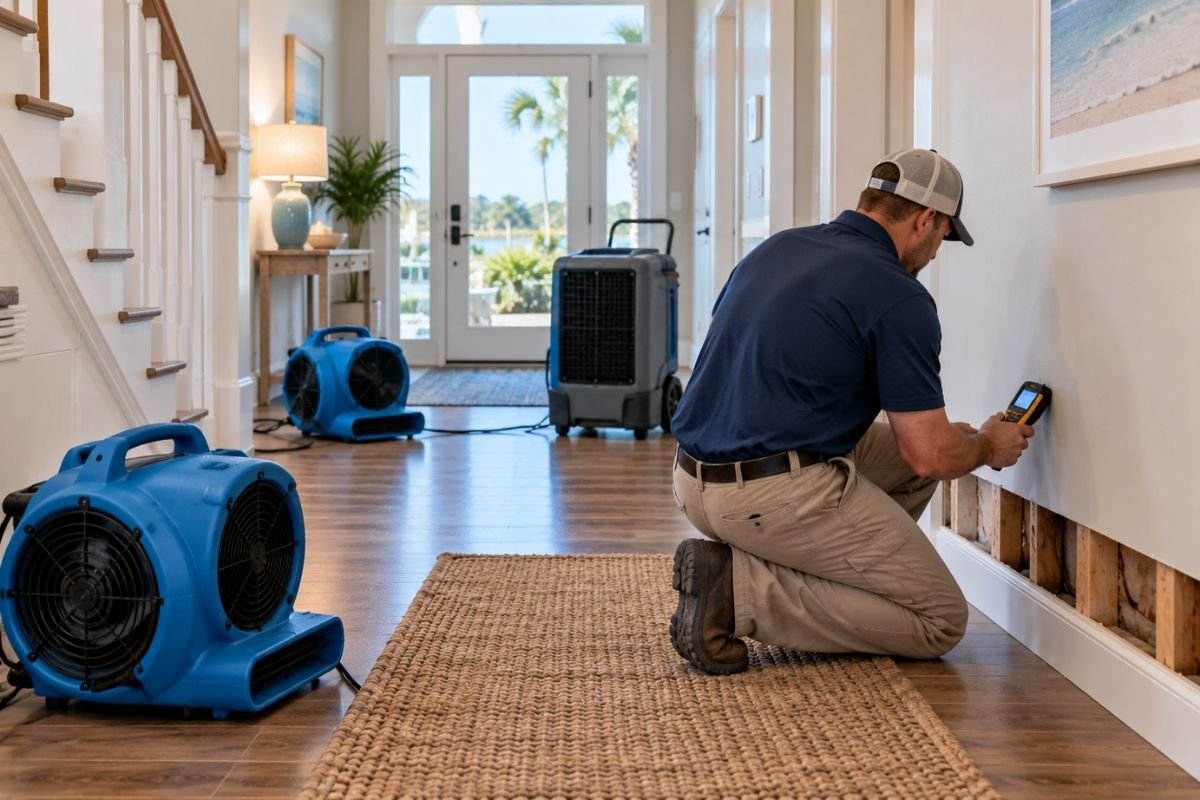
If moisture caused the problem, correct that source first.
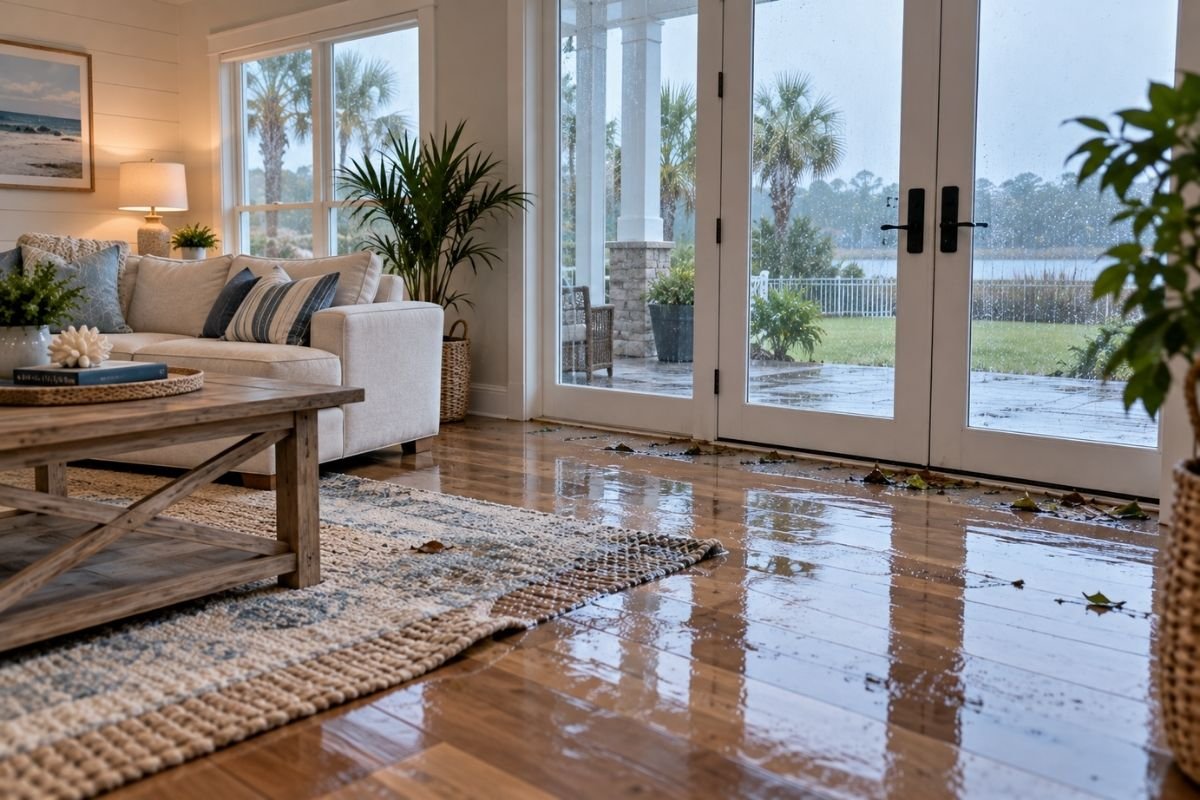
12. Never Paint Over an Active Water Stain
A stain is often evidence of another issue.
Water may come from plumbing, a roof, a window, an appliance, or another building component.
Determine why the stain appeared before restoring the wall.
Otherwise, the discoloration or damage may return through the new finish.
13. Check Drywall Around Windows
Windows are important areas to inspect before an interior repaint.
Look for cracks, peeling paint, staining, or softness around the surrounding wall and trim.
These symptoms may indicate more than ordinary cosmetic wear.
Correct any underlying problem before completing the finish work.
14. Inspect Areas Near Plumbing
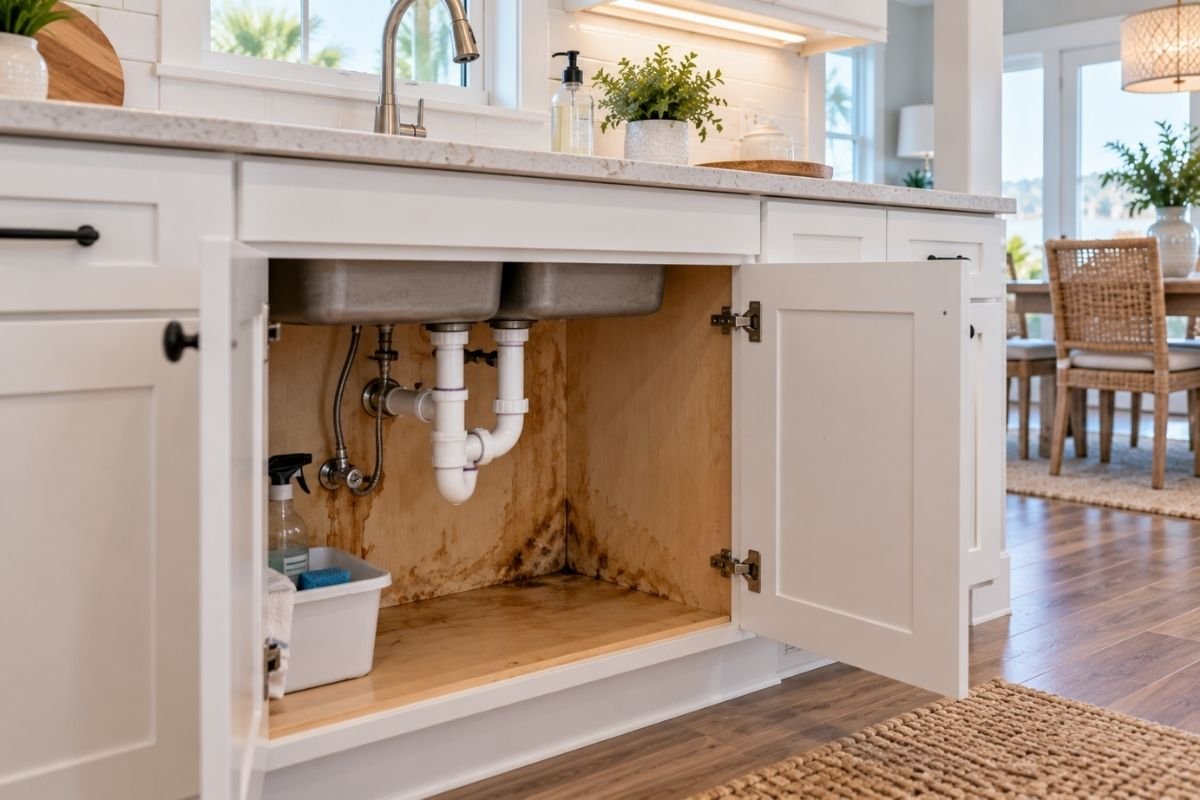
Kitchens, bathrooms, and laundry rooms contain numerous water connections.
Drywall damage near these areas can sometimes be related to a leak.
Check beneath sinks and around nearby fixtures if staining or deterioration appears.
Complete plumbing repairs before restoring the wall.
15. Look Behind Appliances When Practical
Some wall damage remains hidden behind refrigerators, washing machines, and other appliances.
If the room is already being prepared for painting, it may be a useful time to inspect accessible areas.
Look for staining, dents, or previous repairs.
Address problems before moving everything back into position.
16. Check the Ceiling Before Painting the Walls
A room repaint often focuses attention on the walls.
Do not forget the ceiling.
Look for cracks, water stains, nail pops, peeling paint, or previous patches that need additional finishing.
It can be more efficient to address ceiling work before completing the walls.
17. Repair Poor Previous Patches
Older wall repairs are not always smooth.
You may notice raised edges, rough compound, visible mesh, or patches with a different texture.
Fresh paint rarely hides these problems.
Refinishing an old patch can significantly improve the final appearance.
18. Feather the Edges of Drywall Repairs
A repair should transition gradually into the surrounding wall.
Joint compound that ends abruptly can leave a visible ridge.
Applying and sanding the repair over a wider area can create a smoother transition.
This helps the patch become less noticeable after painting.
19. Match Existing Wall Texture
Not every interior wall has a perfectly smooth finish.
If the surrounding surface has texture, a smooth drywall patch can stand out.
Match the existing finish as closely as practical before applying paint.
Texture differences can remain visible even when the paint color matches.
20. Sand Repairs Carefully
Sanding helps remove ridges and blend repaired areas.
However, the goal is not to aggressively sand the surrounding wall.
Work toward a smooth transition and inspect the surface from several angles.
Side lighting can help reveal imperfections that are difficult to see straight on.
21. Clean Drywall Dust Before Priming
Wall preparation can create a surprising amount of fine dust.
Do not apply primer or paint directly over a dusty repair.
Clean the surface appropriately first.
Protect flooring, furniture, and nearby surfaces while preparation work is underway.
22. Caulk Small Gaps Where Appropriate
Small gaps can appear around trim, baseboards, door casings, and other finished transitions.
Where appropriate, proper caulking can create cleaner lines before painting.
Do not use caulk as a substitute for drywall repair when the wall itself is damaged.
Use each repair material for its intended purpose.
23. Repair Trim Before Repainting It
Interior painting often includes baseboards, door trim, or window trim.
Inspect these surfaces for dents, open joints, loose pieces, and damaged finish.
Repairing them before painting creates a cleaner result.
Fresh wall paint can make neglected trim defects more noticeable.
24. Primer Helps Prepare Repaired Areas
Drywall compound and existing painted walls can absorb coatings differently.
Primer can help create a more consistent surface before the finish paint.
Specific stains or surfaces may require a particular type of primer.
Follow the product manufacturer’s instructions for the project.
25. Consider Whether a Touch-Up Is Enough
After repairing one small area, homeowners often hope to paint only the patch.
That can work in some situations.
However, existing paint may have changed because of sunlight, age, cleaning, or normal wear.
Painting the full wall may produce a more consistent appearance.
26. Paint Sheen Can Highlight Imperfections
The finish of the paint affects how light reflects from the wall.
Some higher-sheen coatings can make uneven repairs more noticeable.
That makes careful surface preparation especially important.
Select the finish based on both appearance and how the room is used.
27. Wilmington’s Bright Natural Light Can Reveal Uneven Walls
Many Wilmington homes use large windows and open layouts to bring natural light indoors.
That light can travel across walls and reveal ridges, dents, and poor patches.
Inspect prepared walls during daylight when possible.
Correct imperfections before the finish coat makes them more obvious.
28. Complete Electrical Work Before Final Painting
Changing outlets, switches, or light fixtures can sometimes affect the surrounding finished surface.
If electrical work is already planned, complete it before the final wall finish whenever practical.
This helps avoid disturbing newly painted surfaces.
It also creates a cleaner sequence for the overall renovation.
29. Coordinate Painting With Other Wilmington Home Improvements
A fresh interior often forms part of a larger home improvement project.
For example, new lighting, flooring, cabinetry, or other updates may influence the final paint palette.
If your project extends outdoors, see how an outdoor kitchen can transform a Wilmington, NC backyard.
Planning related improvements together can create a more cohesive finished home.
30. Follow Safe Practices During Painting Projects
Preparation may involve dust, coatings, cleaners, and other materials.
Follow product labels and provide appropriate ventilation while working.
The U.S. Environmental Protection Agency also provides information about lead exposure and older homes.
Homes with older painted surfaces may require additional precautions before disturbing existing coatings.
Good Interior Painting Starts With Good Preparation
Fresh paint can transform a Wilmington, NC home, but the finished result depends heavily on what happens before painting begins.
Holes, dents, cracks, poor patches, damaged drywall, peeling coatings, and water stains should be addressed rather than hidden beneath another layer of paint.
Careful repairs create a smoother surface and help the new finish look more consistent in both natural and artificial light.
Whether you are refreshing one room or repainting much of your home, taking the time to repair the walls first can make the final result feel cleaner, brighter, and professionally finished.